Monday, October 27, 2014

Section 21 - Continuing with the Sled

Found time for about 9 hours of deburring, dimpling and getting the parts ready for primer. The last parts left that I haven't become intimate with are the steps which will be done in the next session. That may have to wait a couple weeks though.
Processed parts - ready to scuff and prime.
What's left to deburr of section 21 plus the bottom skin.
The sled mocked up with some of the parts. 
A different view - starting to look like an airplane.
Ended up putting in two 5/16 rivets. The ones that were in there were slightly mooned and I wanted to do better. By the time I drilled them out I ended up with the hole to large for a AN470-4. I thought of riveting in some baggage tie downs but I would prefer to use more than one rivet for that. In any case - this is as good as it gets and the ones that were in there were fine to begin with. 
Another 12 rivets that I reworked. The top rivet in the corner was put in with the factory head on this side but some of them didn't sit completely flat. I drilled them out and put them in from the other side - something I pretty much knew I should have done from the beginning. In any case - the little things that bother me are now buttoned up.

Monday, October 20, 2014

Section 21 - first half done.

Finished the first half of this section today. It seemed like so many steps and parts that I didn't want to try to remember all the pieces while I processed them. Now that I've spent time on it every piece is recognizable and each piece has it's proper place. Didn't run into any issues other than I used AN426-4-4 rivets where there were two sheets and a nut plate. It made for a proper shop head. I also used 4-4 pull rivets on the AP doubler where it connects through the rib to the seat belt crotch bracket. I'm sure that most of the planes built used the rivets called out. It's not clear why there's a few places where the rivets aren't the proper length. The plans mentions this and states they will work.
The  "sled" coming together.
All the little pieces that needed to be in the correct spot seem so simple now.
This area will always be visible in the plane. 
The back half of the sled.
The second half of section 21.

Saturday, October 18, 2014

Section 21 Build Time: 668 hours

Section 21 - the most complicated section yet. I decided to take it on in two parts. I'd locate the first half of the parts, deburr, prime, prep and assemble those. It worked out pretty well except once you start processing parts you generally loose the numbers as you clean and scuff. By the time you handle them so often you pretty much know where they go. I do mark all left hand parts so I don't have to go back and figure that out. While preparing these for primer I made all the holes needed and all the dimpling. This meant that some of the ribs had special functions now and getting that all sorted out took some time.

Some of the bigger pieces of section 21's first half ready to assemble.
The rest of the first half of section 21 ready to assemble.
Sorting out the seat ribs. They were all pre-processed and have unique functions now so I have to be careful.
Baggage area went together in a couple hours after work. There were a couple of the 470 rivets that gave me grief on the baggage floors. I wasn't happy with them so I drilled them out and tried again but did not make any improvements. I'm thinking of using a 5/16 rivet in the two locations and adding a baggage tiedown at each point.
The back half. It's neat to look at this knowing this is one of the parts you will always see in the plane.
Some of the smaller palm sized parts becoming bigger airplane parts.
Working through the seats. I missed the auto pilot doubler while gathering parts so today I'll have to stop and deburr those parts and mix up a couple ounces of primer. There's still a lot to do on the seat pans so it shouldn't slow me down too much.
Here's an area that I'm deviating. They had these counter sunk pop rivets holding the nut plates and baggage floors to the ribs. They looked like they would barley hold the nut plate. I assume they did this because you can't squeeze these give their location. But they can be bucked so I drilled the pop rivets out and bucked in some 426's. Came out nice.
Looking ahead at the rest of section 21. Gathered up all the parts.  I may start deburring this weekend if time permits.


Saturday, September 6, 2014

Section 20 Build Time: 619 hours

Working through section 20. I was all ready to finish this out and when I went to rivet the bulkhead to the main center section the rivets called out were too short. I'll have to wait until I can get the correct rivets to finish this part. I'll go as far as I can by robbing other parts from the kit. Very few places have had any issues with this kit but it's clear from the work they did at the factory that they used the correct rivets and so will I.


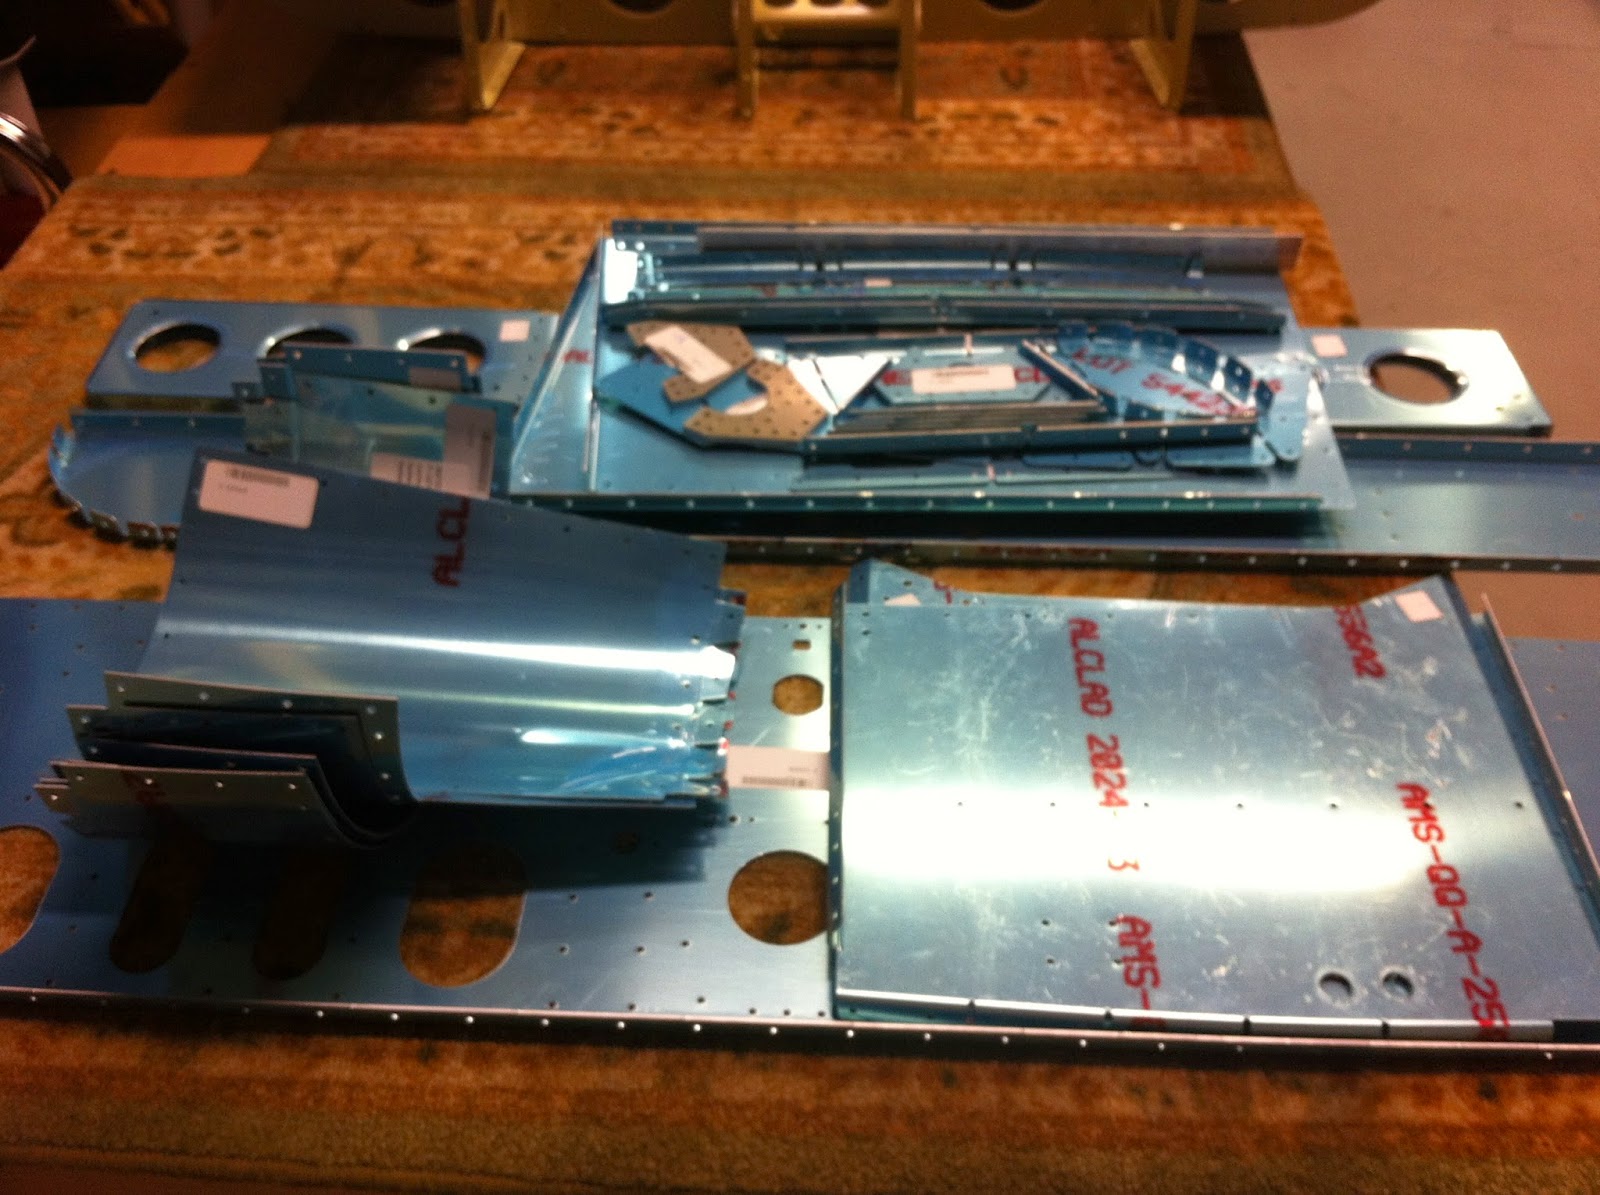
Section 20 parts ready to assemble.
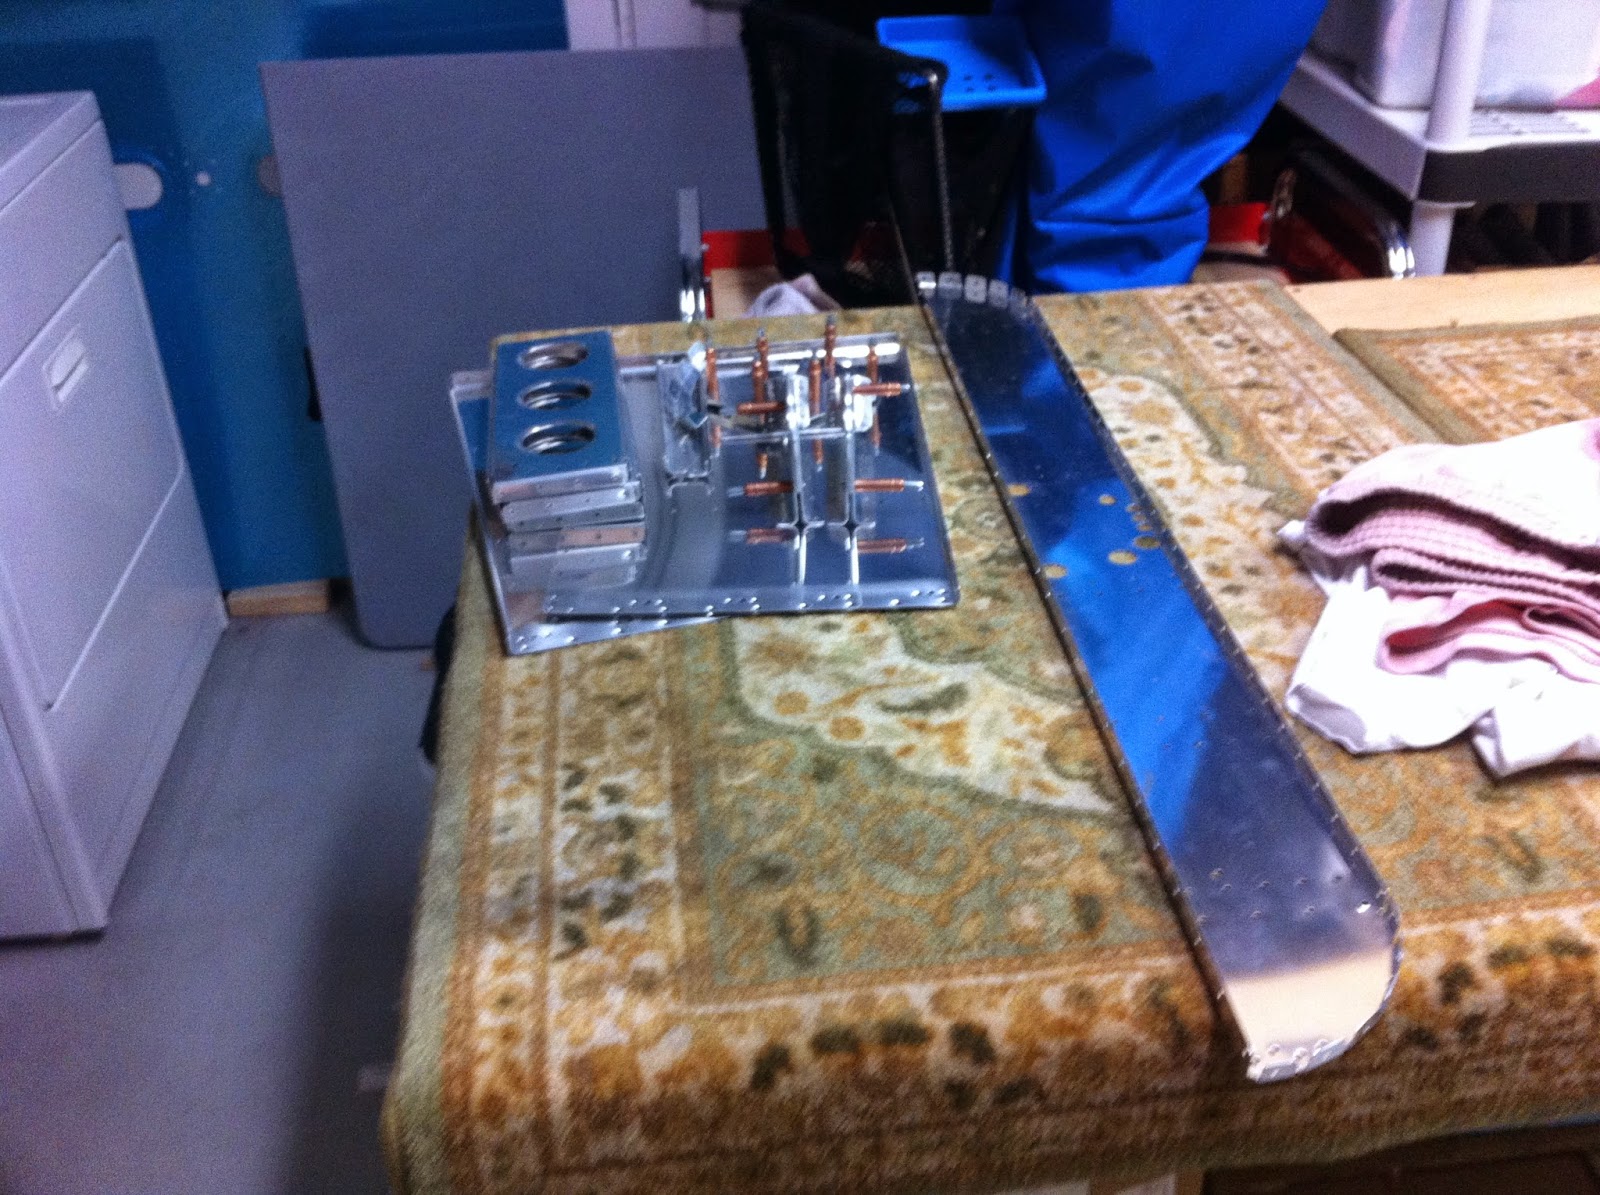
All ready to rivet. 
Except the rivet the instructions call out are too short. The one on the left is what was called out, a 4-8. The one on the right is a 4-9 and produced the correct shop head.

After removing the short rivet it's clear there isn't enough shop head.

These rivets were set by the factory and have the correct dimension head.

I set these six rivets with some 4-9's that will eventually be used to attach the floors so I'll have to order some more.


I looked ahead at section 21 and it's a monster. I've decided to just work on a couple pages of parts at a time in section 21.
It's been nearly two years since I've seen these parts. Glad to finally be working on this section.


Friday, August 22, 2014

Section 18 Complete Build Time: 601 hrs

Finished with the flaperons - just crossed 600 hours. I figure I'm about half way now. I get to pull down the last parts and start on the fuselage.
New batch of parts deberred, primed and ready for assembly.

Spars assembled and ready for skins

Checking to make sure the skins lay flat against the ribs.

Spent a long time with the first skin working it, thinking about it and checking it which required quite a few clecos on each test.

Still not enough bend. The directions say make sure they are flat against the ribs. VansAirForce says this could cause stick grab and I assume it's from uneven air flow.

After trying to gently work towards the right amount of bend I ended up cleco the edges and flattening it by hand.

Satisfied at this point. If it helps anyone the right bend seemed to be about 3/4 to 1/2 inch wider than the spar. If it fits tight against the spar there will be cupping between the ribs. Any higher would bow. I went for slight oil canning between the ribs and I think that's the best one can do. Won't know any more about this until it flies.

Left side done. This was an 11 hour day. I thought about calling it quits for the day but pushed on until 8PM and finished skinning them both.

On to the 3rd and 4th kits.

Monday, July 7, 2014

Section 17 Complete Build Time: 554 hrs

Finally - the wings are done. I took the spars out of the box about a year ago. I've been staring at this section for way too long. Spent 38 hours in four days for the final push to finish the right wing. This included the lights. By weight the rivet count for this push was 1225. It wasn't difficult since I've been in this section for a long time and thought through much of it while assembling the left wing. I'm so glad to have wings. Once the flaperons are done I can pull down the fuselage and start the last big piece. Flying the -12 at Sun River was the inspiration needed to make the push.
The landing light seemed like a challenge until I dug in. It worked out well though.  I kept thinking how would anyone do this post assemble but I'm sure it's been done.

Was hoping for a better fit at the leading edge. If I push it up tight it fits perfect but once screwed it there's a small gap.

Found myself using LP4-4 in places where four or five skins came together. The rivet on the spar is a 4-4 and the shop head is smaller than the 4-3 in the next hole. I started paying attention to this while assembling the rear sub spar.
The 4-3's that go through the doubler were just too short so I drilled them out and dug up some 4-4's from the kit. I've since ordered a hundred or so from Vans just to use them where it seems to work better.

Down to the close out.

Finished at last. Keeping the plastic on until complete really helps to keep everything shiny.

Finish up the nav light and put it away.

This is the new home for the wings. I'm sure they'll be here for at least a year.

Section 17 complete!

Friday, July 4, 2014

Page 17-05 Build Time: 516 hrs

Big push to finish the right wing this weekend. A little over 40 hours since the last post spent debuting, finishing and priming all the parts needed for assembly. At this point I have the bottom skins on but I'm actually past the landing light install. Today I'll trim the plexiglass and begin on the top skins. I'd like to finish that today. The Cessna needs a day of attention so if I can make good progress perhaps I'll have time this weekend to work on it.
The beginning of a long day of riveting.

About 550 rivet day count by weight.

Done with the bottom. It was still daylight but I was too tired to continue.