Monday, October 27, 2014

Section 21 - Continuing with the Sled

Found time for about 9 hours of deburring, dimpling and getting the parts ready for primer. The last parts left that I haven't become intimate with are the steps which will be done in the next session. That may have to wait a couple weeks though.
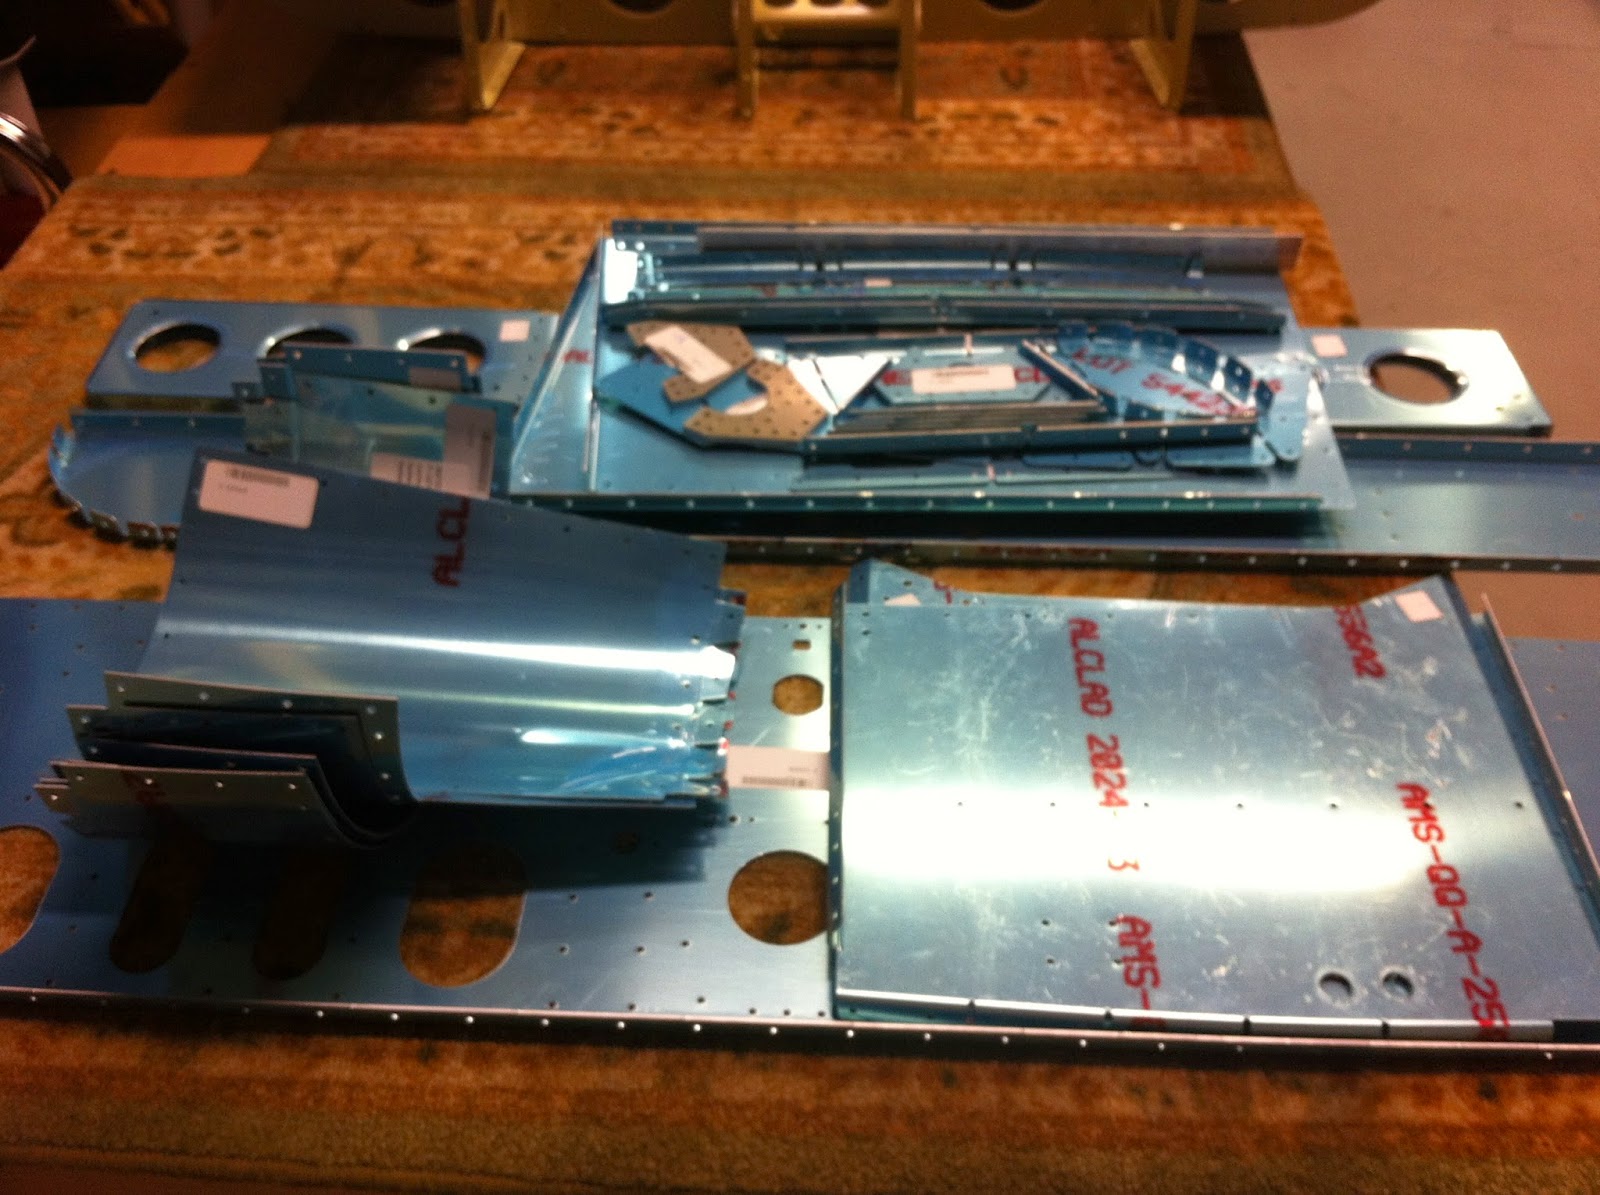
Processed parts - ready to scuff and prime.
What's left to deburr of section 21 plus the bottom skin.
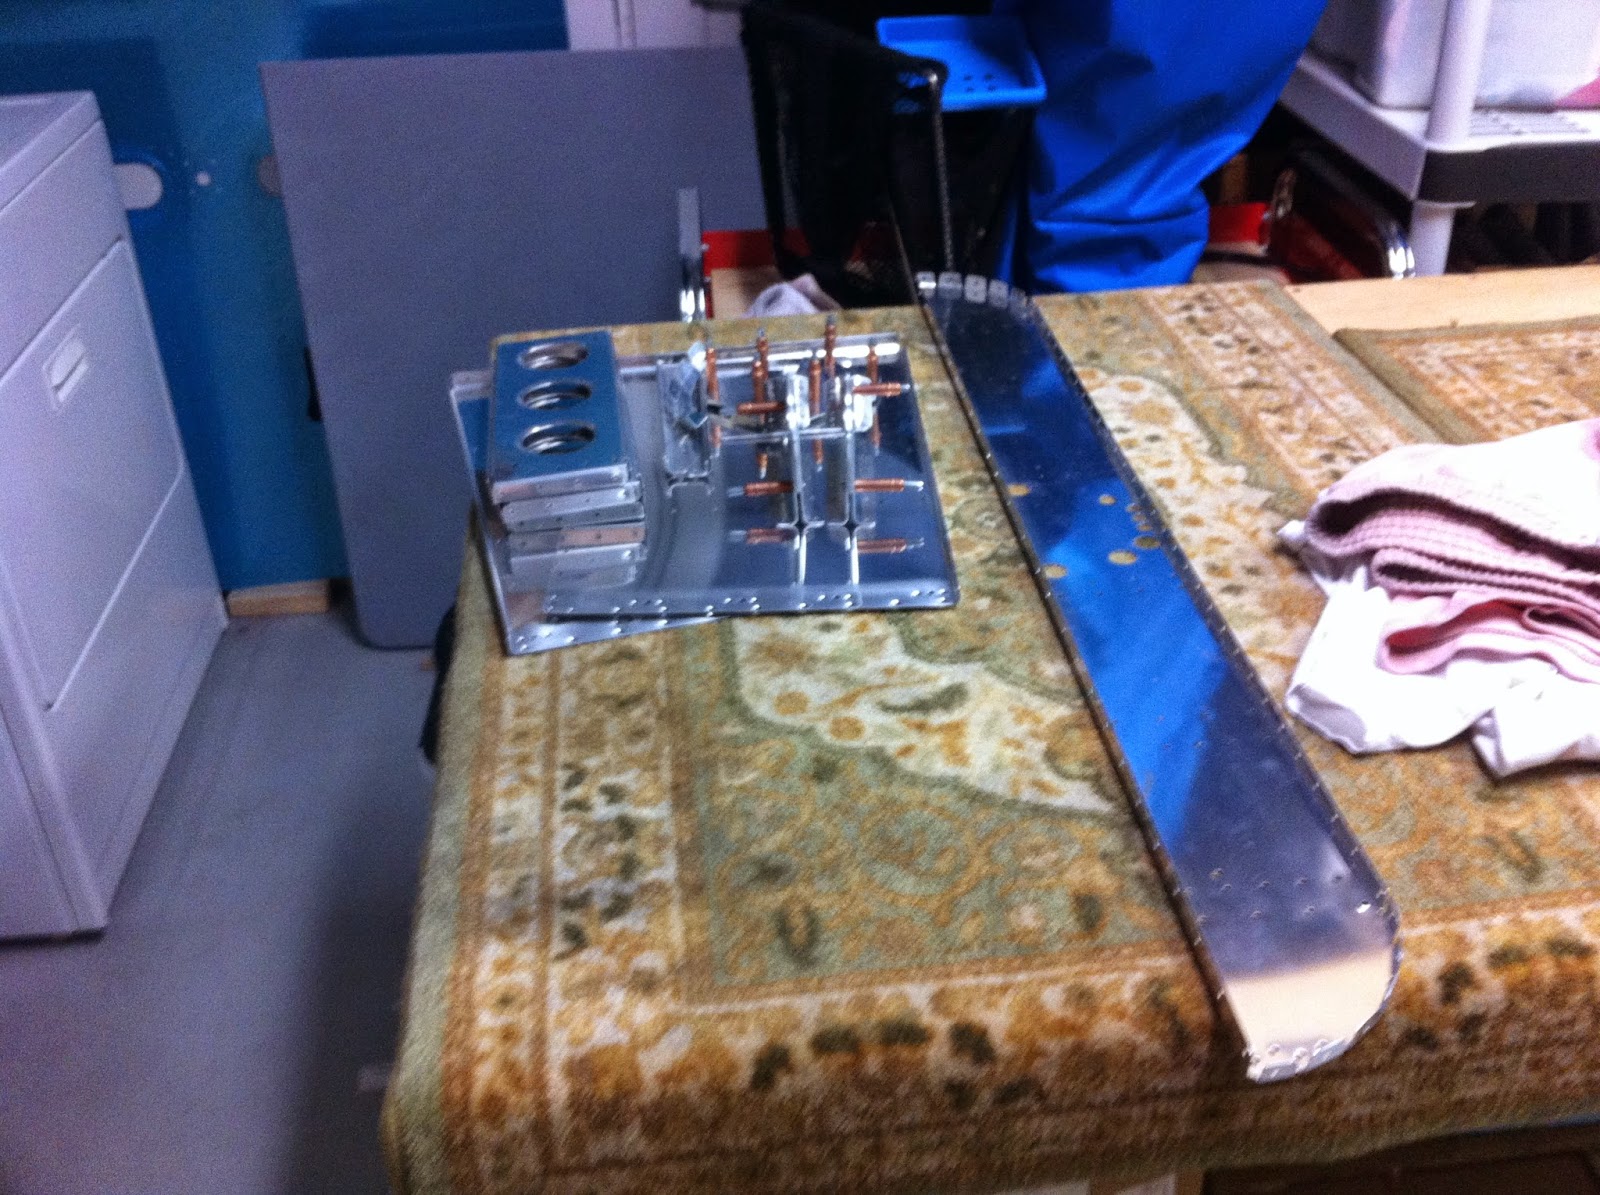
The sled mocked up with some of the parts. 
A different view - starting to look like an airplane.
Ended up putting in two 5/16 rivets. The ones that were in there were slightly mooned and I wanted to do better. By the time I drilled them out I ended up with the hole to large for a AN470-4. I thought of riveting in some baggage tie downs but I would prefer to use more than one rivet for that. In any case - this is as good as it gets and the ones that were in there were fine to begin with. 
Another 12 rivets that I reworked. The top rivet in the corner was put in with the factory head on this side but some of them didn't sit completely flat. I drilled them out and put them in from the other side - something I pretty much knew I should have done from the beginning. In any case - the little things that bother me are now buttoned up.

Monday, October 20, 2014

Section 21 - first half done.

Finished the first half of this section today. It seemed like so many steps and parts that I didn't want to try to remember all the pieces while I processed them. Now that I've spent time on it every piece is recognizable and each piece has it's proper place. Didn't run into any issues other than I used AN426-4-4 rivets where there were two sheets and a nut plate. It made for a proper shop head. I also used 4-4 pull rivets on the AP doubler where it connects through the rib to the seat belt crotch bracket. I'm sure that most of the planes built used the rivets called out. It's not clear why there's a few places where the rivets aren't the proper length. The plans mentions this and states they will work.
The  "sled" coming together.
All the little pieces that needed to be in the correct spot seem so simple now.
This area will always be visible in the plane. 
The back half of the sled.
The second half of section 21.

Saturday, October 18, 2014

Section 21 Build Time: 668 hours

Section 21 - the most complicated section yet. I decided to take it on in two parts. I'd locate the first half of the parts, deburr, prime, prep and assemble those. It worked out pretty well except once you start processing parts you generally loose the numbers as you clean and scuff. By the time you handle them so often you pretty much know where they go. I do mark all left hand parts so I don't have to go back and figure that out. While preparing these for primer I made all the holes needed and all the dimpling. This meant that some of the ribs had special functions now and getting that all sorted out took some time.

Some of the bigger pieces of section 21's first half ready to assemble.
The rest of the first half of section 21 ready to assemble.
Sorting out the seat ribs. They were all pre-processed and have unique functions now so I have to be careful.
Baggage area went together in a couple hours after work. There were a couple of the 470 rivets that gave me grief on the baggage floors. I wasn't happy with them so I drilled them out and tried again but did not make any improvements. I'm thinking of using a 5/16 rivet in the two locations and adding a baggage tiedown at each point.
The back half. It's neat to look at this knowing this is one of the parts you will always see in the plane.
Some of the smaller palm sized parts becoming bigger airplane parts.
Working through the seats. I missed the auto pilot doubler while gathering parts so today I'll have to stop and deburr those parts and mix up a couple ounces of primer. There's still a lot to do on the seat pans so it shouldn't slow me down too much.
Here's an area that I'm deviating. They had these counter sunk pop rivets holding the nut plates and baggage floors to the ribs. They looked like they would barley hold the nut plate. I assume they did this because you can't squeeze these give their location. But they can be bucked so I drilled the pop rivets out and bucked in some 426's. Came out nice.
Looking ahead at the rest of section 21. Gathered up all the parts.  I may start deburring this weekend if time permits.