Well it's been quite some time since I posted to the blog. I finished the engine and cowl and purchased the Avionics - which apparently I should have done in reverse order. I purchased the engine first because I wanted to get it painted before final assembly. I then realized that there would be antennas and doublers with the avionics kit so I had to wait on that. I'm a bit concerned that the engine hasn't run in months, not good for engines. We'll do a thorough inspection of the cylinders prior to starting and I'm hopeful it will be fine.
At this point in the build there aren't a lot of pictures that show significant progress. Most of the work involves taking something apart to install some new wire or servo and such. I'm down to this last weekend of work on the plane before we haul it off to the paint shop. Many folks don't paint until post phase 1 test fight in case they have to make major changes. I don't expect that since it's a known entity and many have been built. I've not deviated from the design in a way that would cause major parts of it to be removed or changed and once it's flying I intend to fly it.
The last major piece is the fuel tank which I'll assemble while the plane is in paint. Once it comes back it will take a couple sessions to get the avionics in and tested and I'll do that here at the house. Then, it's off to the hanger for final assembly - still months from flying.
It's also time to dig through all the paper work for registration. It's daunting but as with this entire project just start reading and it all starts to make sense. Time to call Vans for my bill of sale and discuss the registration process. I will also complete my N number registration which is reserved for now - N696VA.
For builders looking into the paperwork process here's a list of items I've compiled so far:
Request a bill of sale from Vans
- If you have an RV-12 but do not meet the RV-12 ELSA criteria, you will only receive the 8050-2 bill of sale. If you want the placards they can be purchased at an additional cost.
1) Aircraft Registration Application, FAA Form 8050-1.
2) Affidavit of Ownership, FAA Form 8050-88 (use version dated 9/98).
3) If a kit aircraft you must also complete FAA Form 8050-2 Bill of Sale and replace the word "aircraft" in the title with "kit."
4) If you want a "special" N-number, send a letter requesting five choices.
5) Appropriate fee: $5.00 ($15.00 for "special" N-number)
Prior to the FAA inspector’s arrival for the final inspection you should obtain:
1) Airworthiness Application, Form 8130-6.
2) Eligibility Statement for Amateur-Built Aircraft, Form 8130-12.
AC 90-89B - Amateur-Built Aircraft and Ultralight Flight Testing Handbook
http://www.faa.gov/documentLibrary/media/Advisory_Circular/AC_90-89B.pdf
AC20-27G -Certification and Operation of Amateur-Built Aircraft
https://www.faa.gov/documentLibrary/media/Advisory_Circular/AC%2020-27G.pdf
8130.2H - Airworthiness Certification of Products and Articles
http://www.faa.gov/documentLibrary/media/Order/8130.2H.pdf
AC-45-2E Identification and Registration Markings
http://www.faa.gov/documentLibrary/media/Advisory_Circular/AC_45-2E.pdf
Questions for Justin:
* Would paint be considered commercial help?
* Certified as EAB - I would like it to be day / night / VFR / IFR - any reason that cannot be done?
* If IFR certification is OK does the plane need to have an IFR navigation installed at the time of certification?
And of course - some pics
 |
| All the Avionics - candy for someone like me. |
 |
| Panel coming together. I'm not going to put too much in until it's painted because they'll be using water and etching prior to primer |
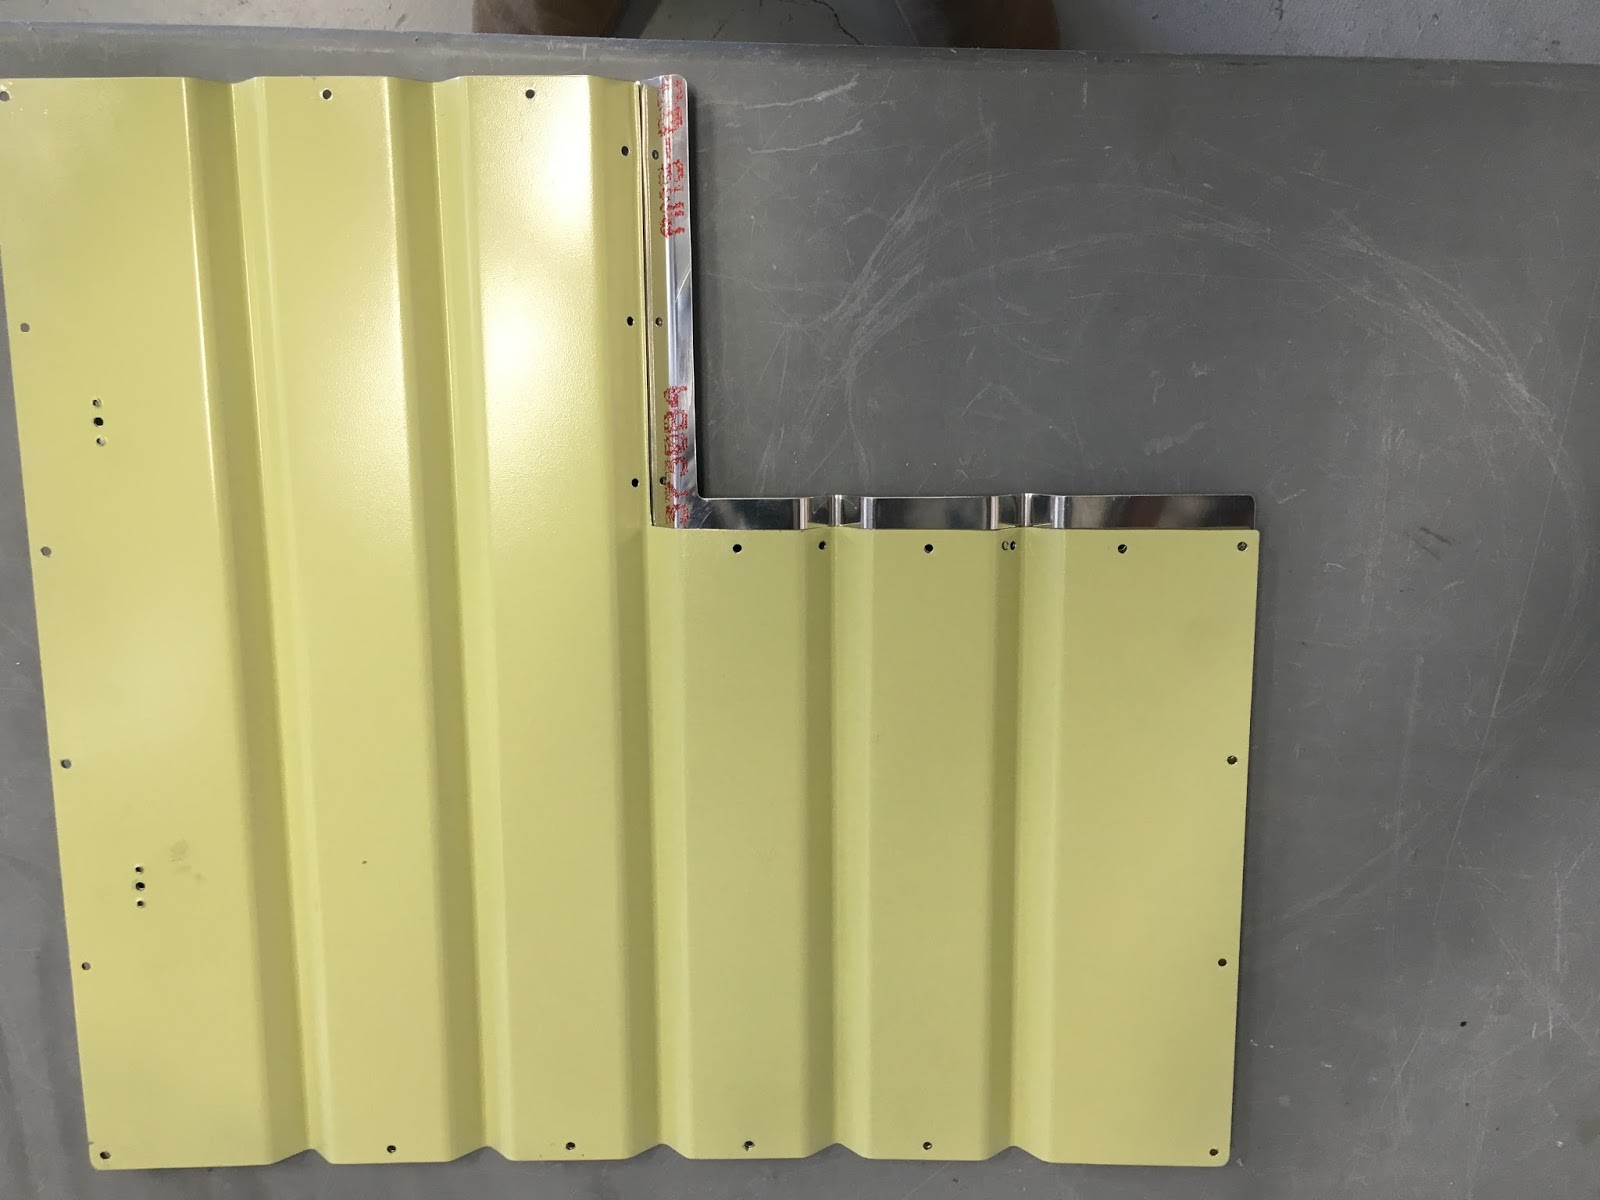 |
| The Avionics kit came with the baggage floor pieces that allow inspection without removing the fuel tank. So I decided to add the rear bulkhead split also. I ordered the small piece and took a stab at cutting my existing bulkhead. It would have worked except I mis-drill one hole. So I bit the bullet and ordered the big section also. you can see it behind the old primed bulkhead. It is about 3/4 of an inch more material. One of many parts that have made it to the scrap heap. Hope this pic helps anyone making the same change. The small piece is less than $20 - just make sure to leave enough material (the holes are matched from the small part) and cleco everything as you drill. |