Friday, August 22, 2014

Section 18 Complete Build Time: 601 hrs

Finished with the flaperons - just crossed 600 hours. I figure I'm about half way now. I get to pull down the last parts and start on the fuselage.
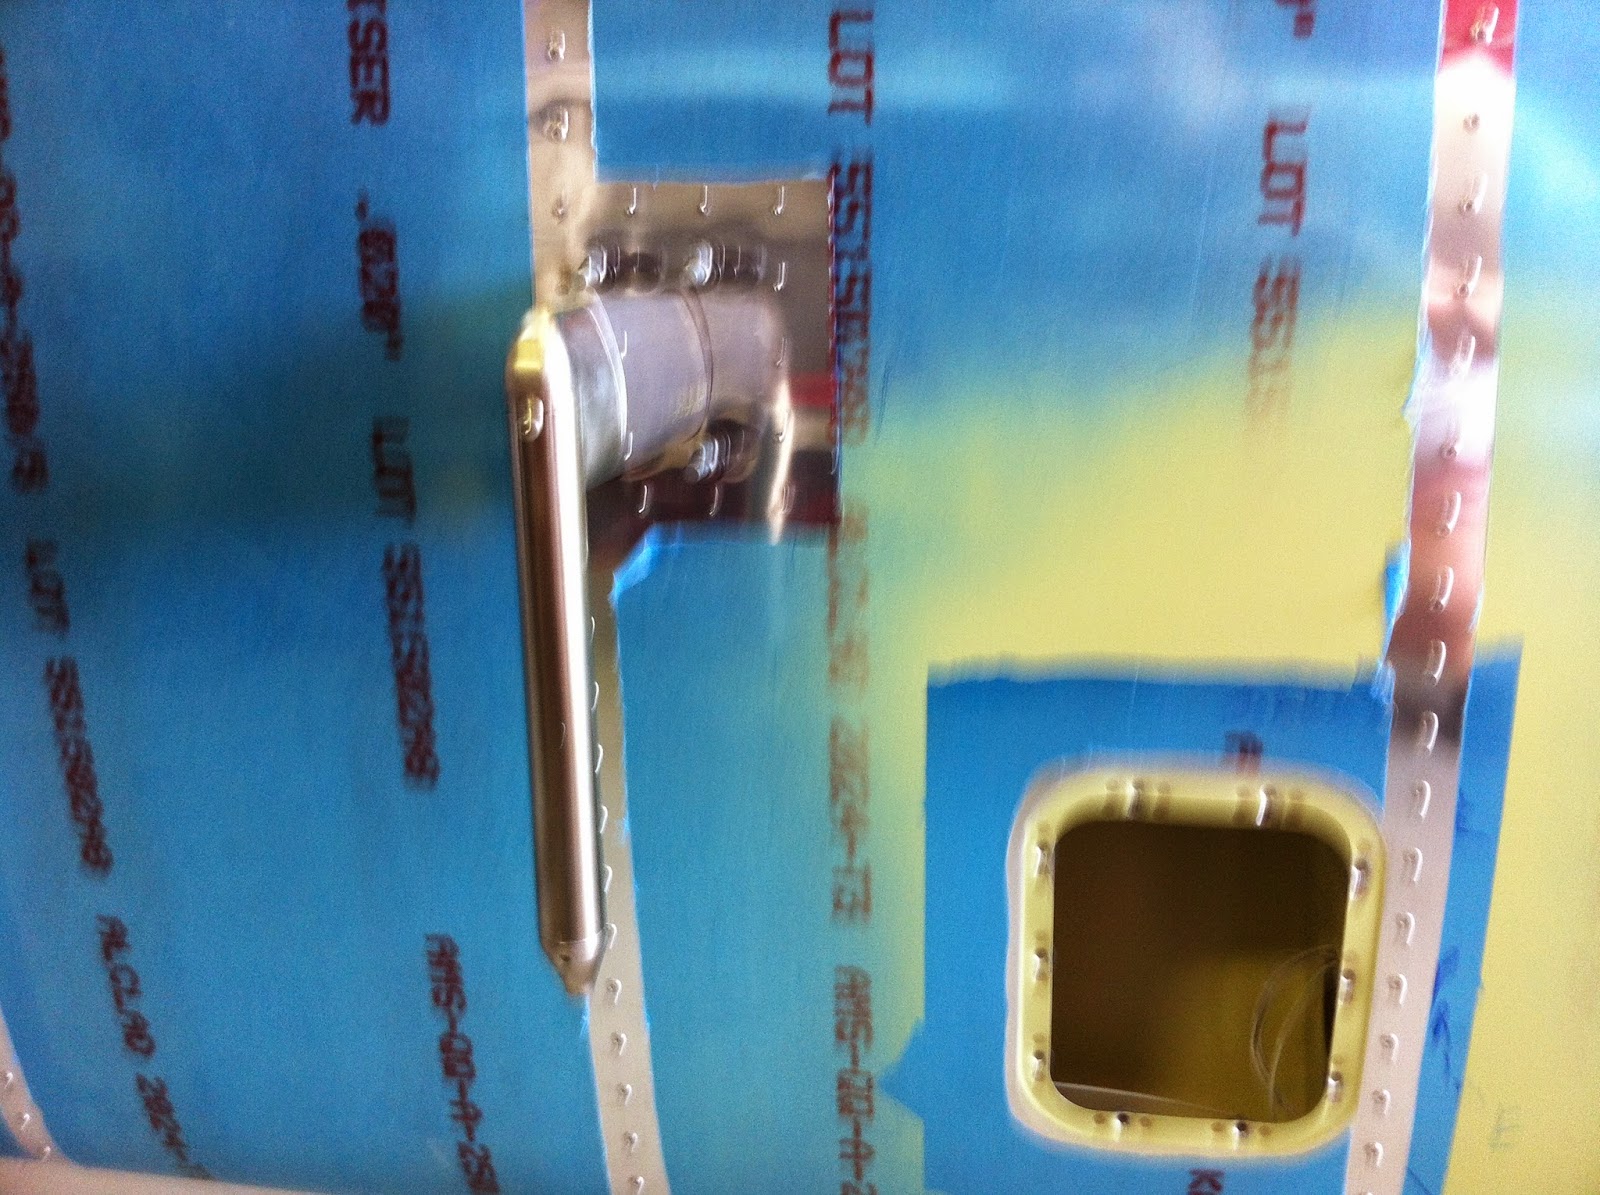
New batch of parts deberred, primed and ready for assembly.

Spars assembled and ready for skins

Checking to make sure the skins lay flat against the ribs.

Spent a long time with the first skin working it, thinking about it and checking it which required quite a few clecos on each test.

Still not enough bend. The directions say make sure they are flat against the ribs. VansAirForce says this could cause stick grab and I assume it's from uneven air flow.

After trying to gently work towards the right amount of bend I ended up cleco the edges and flattening it by hand.

Satisfied at this point. If it helps anyone the right bend seemed to be about 3/4 to 1/2 inch wider than the spar. If it fits tight against the spar there will be cupping between the ribs. Any higher would bow. I went for slight oil canning between the ribs and I think that's the best one can do. Won't know any more about this until it flies.

Left side done. This was an 11 hour day. I thought about calling it quits for the day but pushed on until 8PM and finished skinning them both.

On to the 3rd and 4th kits.

Monday, July 7, 2014

Section 17 Complete Build Time: 554 hrs

Finally - the wings are done. I took the spars out of the box about a year ago. I've been staring at this section for way too long. Spent 38 hours in four days for the final push to finish the right wing. This included the lights. By weight the rivet count for this push was 1225. It wasn't difficult since I've been in this section for a long time and thought through much of it while assembling the left wing. I'm so glad to have wings. Once the flaperons are done I can pull down the fuselage and start the last big piece. Flying the -12 at Sun River was the inspiration needed to make the push.
The landing light seemed like a challenge until I dug in. It worked out well though.  I kept thinking how would anyone do this post assemble but I'm sure it's been done.

Was hoping for a better fit at the leading edge. If I push it up tight it fits perfect but once screwed it there's a small gap.

Found myself using LP4-4 in places where four or five skins came together. The rivet on the spar is a 4-4 and the shop head is smaller than the 4-3 in the next hole. I started paying attention to this while assembling the rear sub spar.
The 4-3's that go through the doubler were just too short so I drilled them out and dug up some 4-4's from the kit. I've since ordered a hundred or so from Vans just to use them where it seems to work better.

Down to the close out.

Finished at last. Keeping the plastic on until complete really helps to keep everything shiny.

Finish up the nav light and put it away.

This is the new home for the wings. I'm sure they'll be here for at least a year.

Section 17 complete!

Friday, July 4, 2014

Page 17-05 Build Time: 516 hrs

Big push to finish the right wing this weekend. A little over 40 hours since the last post spent debuting, finishing and priming all the parts needed for assembly. At this point I have the bottom skins on but I'm actually past the landing light install. Today I'll trim the plexiglass and begin on the top skins. I'd like to finish that today. The Cessna needs a day of attention so if I can make good progress perhaps I'll have time this weekend to work on it.
The beginning of a long day of riveting.

About 550 rivet day count by weight.

Done with the bottom. It was still daylight but I was too tired to continue.

Tuesday, May 27, 2014

Page 17-05 Build Time: 473 hrs

Left wing complete. It took a while to get to this point but it's finally done. I would have liked to have gone through this section much quicker but it takes time and there's a lot of prep work that I did along the way. I expect the right wing to benefit from the experience found on this wing. Next steps it to build a rack to hold both wings so I can move this one out of the shop and start on the next. The only place to store the wings is in the house. I'll be living with airplane parts for some time going forward until it's ready to move to the airport.
Closeout ready to rivet.

Read about the gaps in this section. I assume all wings are this way. Glad I read it before working on. Some have filled this in with something. I'm sure it's fine per Vans.

Kinda surprised at how well this lined up.

Light extension and light. This took a day to complete.

The light kit is an option. In those instructions they ask you to create a fairly large hole so you can reach in and pull the wires through. Since I installed the wires and lights during assembly a simple hole was easier to create.

All buttoned up. This wing is ready to fly!


More pics of the gaps in the closeout.

Where the main spare meets the close out. If other builders find this site it might help them to keep from freaking out.

Of everything I've built so far this was the most ill fitting. It came together and I'm sure all 12's have the same. I'll find out in a couple weeks when I take some transition training at the RV expo.

Monday, May 12, 2014

Page 17-05 Build Time: 457 hrs

Finishing up the left wing. I'm down to the last end close out but I need to install the light first. I expect that will take a couple days. Once that's done I'll need to build a rack to hold the wings and keep them out of the way. It's been a long haul getting this far but it's been fun. This is the turning point for the project where it is now officially a EAB. For the builders out there I've decided to make some changes that to do correctly will need to be done during the build. For those just watching the blog the project up to this point was ELSA which require strict adherence to the manufactures plans. EAB is just an Experimental Amateur Built aircraft... which is what the plane becomes after certification anyway.
Pitot and AOA lines in the left wing.

Officially EAB now

Cleco up as much as I can so the structure is aligned. Perhaps 5 holes total needed to be chased through. The rest just lined up.

Dynon pitot probe in stall bay.

Probe and it's mount.

Probes doubler and mount. The doubler ties into the rib.

Pitot heater controller.


Back side of spare where the pitot heat controller mounts

Dynon heated pitot / AOA

Doubler and mount.

Final dry fit before closing out the wing.

Stall switch all hooked up.

Time to close the wing off.


Wing tip came out nice.


The entire wing sans the final close out at the tip.

Months of dedicated weekends. Very close to done.