Sunday, December 14, 2014

Section 22 Complete Build Time: 762 hrs

Section 22 complete - starting to look like an airplane! This section came with some warnings from the forums in that some felt there could have been more details in the plans. The section was only 4 pages long and I spent maybe 10 or so hours of the 28 for this section on one page. In contrast to the last chapter which had 28 pages I believe and took quite a bit of time. In any case, most of the complaints about the drawings were dated and I found it to be 80% there. At this point I think Vans assumes you'll figure it out which isn't hard to do. This will be the last section for 2014 and officially I'm at 2 years on the build which I do believe will complete in 2015. I have a hanger now at KCCR. I've been on the list for about a year at both Buchanan and Byron and both came up at the same time. I choose Buchanan since it's half the distance but it's nearly $120 more per month so the incentive to make use of it and move to Byron is there. For now the mighty C152 has a dry place to hang out. Perhaps a first for the 35 year old bird. I'll continue to keep the project at the house since it's so convenient. The coming steps will be mostly plumbing and the sides and roll bar. After that the tail will go on and it will have to be on it's wheels to make it manageable.
Some of the detail and parts fab. This little bracket was fabricated out of stock 6061 angle. It's cool to make the little parts. 
Another part that needed some fab to complete. Once they go through this they can only be used on one place.
Prior to priming the components are assembled so that I can work through all the counter sink / dimple / drilling that needs to be completed. It works much better this way and by the time you've riveted anything permanently you have a good understanding of where everything fits.
All fab complete - ready to prime. This took a couple days to get to this point.
Out of prime - not too many parts on this section.
Starting the final assembly. The firewall is stainless so it doesn't get primed. Primer wouldn't stick to it and if there's ever a fire in the engine bay you don't want a bunch of nasty primer combusting and outgassing noxious gases into the cockpit.
All cleco'd up - last check before the rivets go in. It's good to triple check as replacing rivets is a drag.
Time for the rivet gun.
Pretty quick work, only a day. This is all on one page except for the diagonal piece which is a optional stiffener.
Ready to make the final joining. Last check of the documentation.
Purdy!
A shot of the engine mounts. These are the lowers. This is also where the nose wheel will attach.

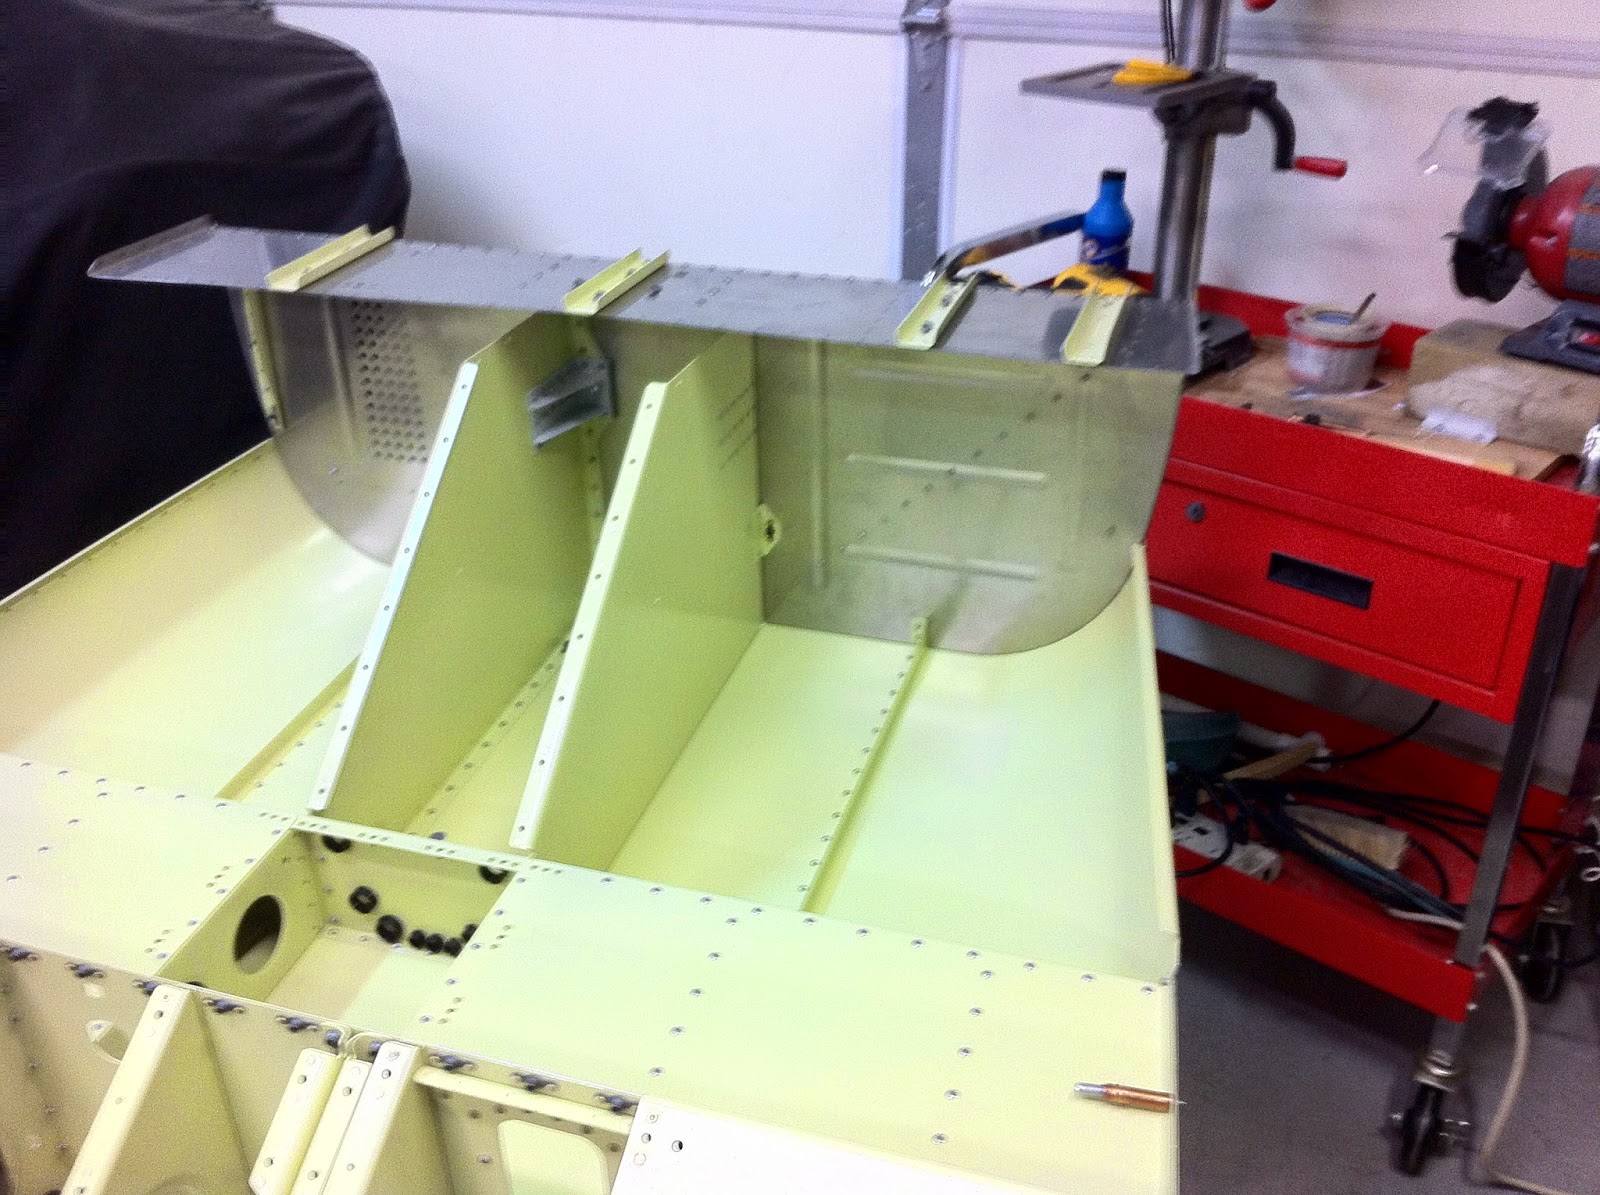
Ready to attach the firewall shelf.

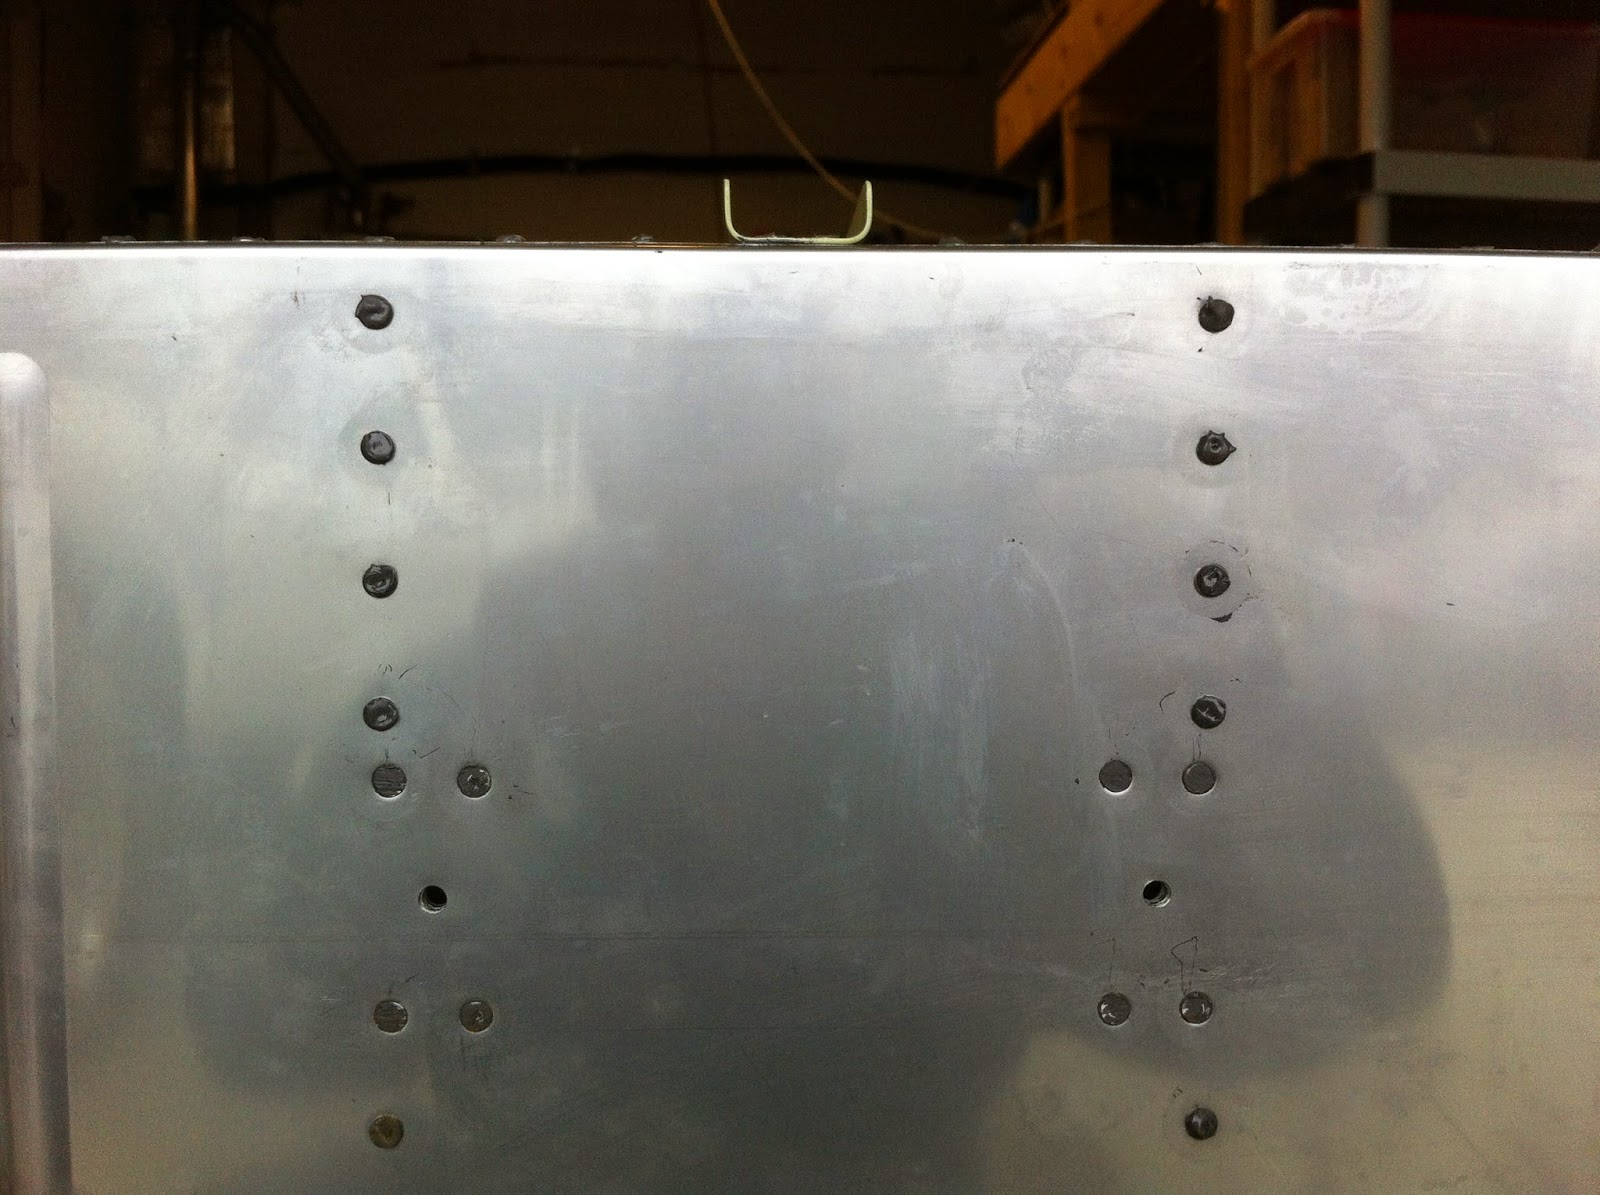
All rivets on the firewall will get fuel tank sealant. The directions didn't say to do this yet as I suspect they leave it for  a one shot item. I looked ahead and couldn't find it but the firewall stiffener said to goop up the rivets since that's a retrofit. I've also read a bit about it on the forum. Some people said they made a big mess and others talked of punching holes in tape. I used hole punch donuts and it turned out they worked pretty well.
The forward and aft sections coming together.
Progress...
That's it - it's about 7 feet now. This may be the last time it will be belly up in construction. I can still pick it up by myself but it's awkward and I'd hate to drop it. I'd say it's less than 50 pounds.
Section 22 - almost done. Just have to flip it and catch a few more rivets.
Section 22 complete!
Time to admire the work of the fall of 2014!
One more shot... 
Really - just one last angle...
Who can resit...
OK - this is it. Time to move on.
Here's the rivets after the goop and donut process, came out nice.
Last pic of the goop.

Tuesday, November 25, 2014

Section 21 Complete Build Time: 734 hrs

Section 21 took a bit of time to complete. There are many parts to this section and the seat ribs were fairly complex if you wanted to get a complete picture of how the assemblies go together when complete. Because I prime - and because all the dimpling, drilling and nut plate locations are done prior to priming it was necessary to understand the final assemblies prior to actually assembling them. All in all it came out nice. I'm happy with it and it looks like I'm getting closer to finishing. A new milestone - the box of 10000 rivets is no more - I'm down to a cup of rivets from that box. There are still a couple thousand in the second box and hundreds elsewhere. I remember looking at this box and wondering when I would ever get through it. This section seemed to be the most complicated so far. I was definitely the longest. I broke it into two sections because there were so many parts to deburr and prime that it was hard to keep track of everything. I'm already eyeing section 22 which is much shorter.

Bottom skin going on. I wanted to take a picture of this before I flipped it over and as soon as it was right side up I remembered. Oh well - I think there's a section that has it upside down again. If not - let's hope it's the last time it sees the sun!

Here's a view of the bottom of the fuselage. Looks good.
Box of 10,000 LP 4-3 rivets - took two years to burn through these little guys.
Finally the bottom of the box!
Mid fuselage right side up working on the step pans and steps.
I had to stand it on the side so I could reach the #8 screws and nuts for the system blocks - what a PIA to do by yourself.
90 degree steep turns in an RV 12! There are quite a few holes that don't have snap bushings. I looked ahead and couldn't see where those would be put in but I did manage to convince myself that anywhere they may be needed can be accessed.
The finished product of section 21. Took some time. Lot's of inspections since there are areas that will never be seen again. I was tempted to sit in it and make airplane noises but I think that will have to wait until I have the control sticks in it.

Sunday, November 16, 2014

Section 21 Build Time: 718 hours

Making progress on section 21. I have about 1 more day of parts to assemble before it's complete. Van's claims that the average build is 800 hours and I'm not far from that. I don't see it taking more than 1100 or so as I'm starting to run out of parts. This is the part where there's a lot of detail to work with and the building goes slowly. I now have a hanger but I won't move the project out of the house until it's too big. It's just too convenient to walk out to the shop and work. I'll keep the Cessna there for now. Several hangers came up at once and I expect to have to move the project around April so I went for it. It takes about a year or so to get through the list.
Last bit of parts for section 21.
Bottom skin ready to go.
The rest of the parts for section 21.
Finally ran into the blue plastic problem after nearly 2 years.  This piece had blue ink for the markings and all the other parts had red ink so clearly it's from a different production run. I'm hoping I don't run into to much of this although there's not a lot of parts left at this point.
Building up the 1203 bulkhead.
Forward spar receptacle coming together. The actual spar receptacle had clear plastic on it. I knew this and thought I had peeled it off. I caught it while priming it so I had to stop, etch, alodine and paint it again.
The 1203 bulkhead assembly.
The 1203 looking all beefy.
Them's flyin parts. The powder coated tube is where the sticks will attach. This is the business end of flying the airplane. Getting excited to see some of this in the plane.
A long weekend of priming and assembly. Got to the point where next step if to flip it over and skin it.

Monday, October 27, 2014

Section 21 - Continuing with the Sled

Found time for about 9 hours of deburring, dimpling and getting the parts ready for primer. The last parts left that I haven't become intimate with are the steps which will be done in the next session. That may have to wait a couple weeks though.
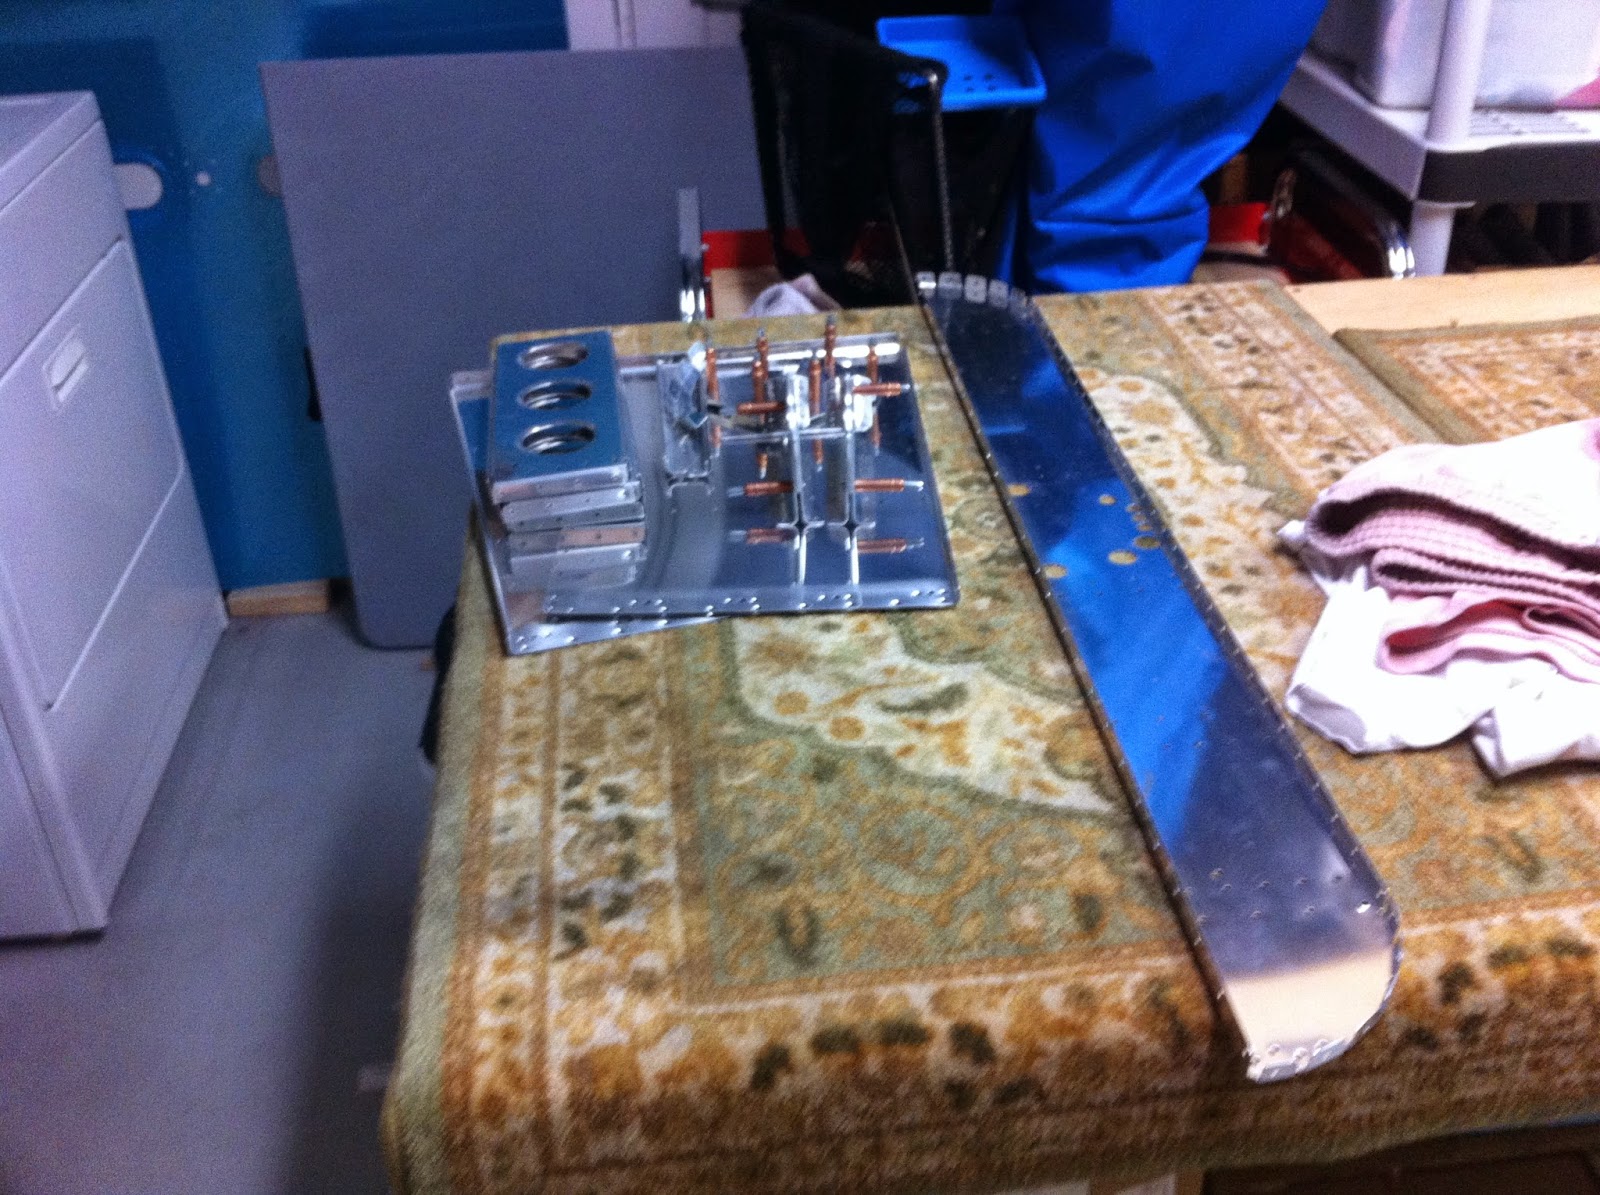
Processed parts - ready to scuff and prime.
What's left to deburr of section 21 plus the bottom skin.
The sled mocked up with some of the parts. 
A different view - starting to look like an airplane.
Ended up putting in two 5/16 rivets. The ones that were in there were slightly mooned and I wanted to do better. By the time I drilled them out I ended up with the hole to large for a AN470-4. I thought of riveting in some baggage tie downs but I would prefer to use more than one rivet for that. In any case - this is as good as it gets and the ones that were in there were fine to begin with. 
Another 12 rivets that I reworked. The top rivet in the corner was put in with the factory head on this side but some of them didn't sit completely flat. I drilled them out and put them in from the other side - something I pretty much knew I should have done from the beginning. In any case - the little things that bother me are now buttoned up.

Monday, October 20, 2014

Section 21 - first half done.

Finished the first half of this section today. It seemed like so many steps and parts that I didn't want to try to remember all the pieces while I processed them. Now that I've spent time on it every piece is recognizable and each piece has it's proper place. Didn't run into any issues other than I used AN426-4-4 rivets where there were two sheets and a nut plate. It made for a proper shop head. I also used 4-4 pull rivets on the AP doubler where it connects through the rib to the seat belt crotch bracket. I'm sure that most of the planes built used the rivets called out. It's not clear why there's a few places where the rivets aren't the proper length. The plans mentions this and states they will work.
The  "sled" coming together.
All the little pieces that needed to be in the correct spot seem so simple now.
This area will always be visible in the plane. 
The back half of the sled.
The second half of section 21.

Saturday, October 18, 2014

Section 21 Build Time: 668 hours

Section 21 - the most complicated section yet. I decided to take it on in two parts. I'd locate the first half of the parts, deburr, prime, prep and assemble those. It worked out pretty well except once you start processing parts you generally loose the numbers as you clean and scuff. By the time you handle them so often you pretty much know where they go. I do mark all left hand parts so I don't have to go back and figure that out. While preparing these for primer I made all the holes needed and all the dimpling. This meant that some of the ribs had special functions now and getting that all sorted out took some time.

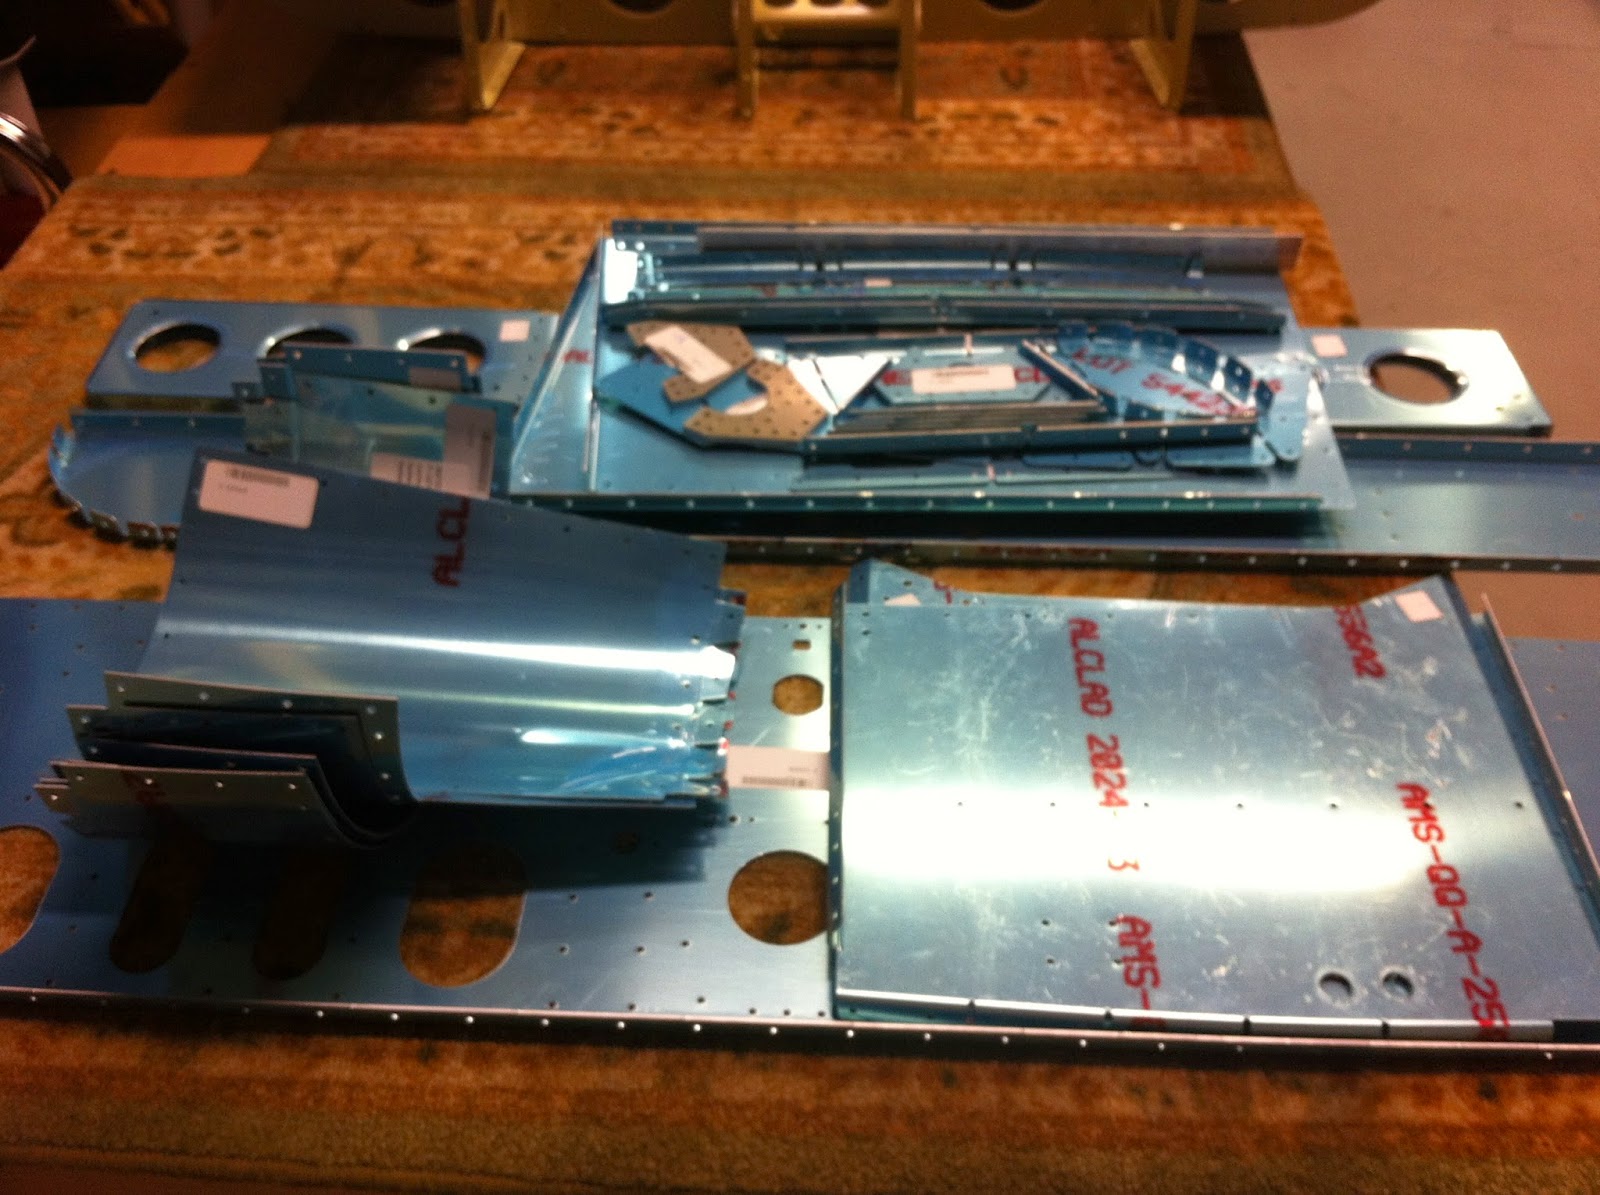
Some of the bigger pieces of section 21's first half ready to assemble.
The rest of the first half of section 21 ready to assemble.
Sorting out the seat ribs. They were all pre-processed and have unique functions now so I have to be careful.
Baggage area went together in a couple hours after work. There were a couple of the 470 rivets that gave me grief on the baggage floors. I wasn't happy with them so I drilled them out and tried again but did not make any improvements. I'm thinking of using a 5/16 rivet in the two locations and adding a baggage tiedown at each point.
The back half. It's neat to look at this knowing this is one of the parts you will always see in the plane.
Some of the smaller palm sized parts becoming bigger airplane parts.
Working through the seats. I missed the auto pilot doubler while gathering parts so today I'll have to stop and deburr those parts and mix up a couple ounces of primer. There's still a lot to do on the seat pans so it shouldn't slow me down too much.
Here's an area that I'm deviating. They had these counter sunk pop rivets holding the nut plates and baggage floors to the ribs. They looked like they would barley hold the nut plate. I assume they did this because you can't squeeze these give their location. But they can be bucked so I drilled the pop rivets out and bucked in some 426's. Came out nice.
Looking ahead at the rest of section 21. Gathered up all the parts.  I may start deburring this weekend if time permits.