Sunday, February 22, 2015

Section 24 complete - build time 877 hours

Completed section 24 this weekend. It only took about a day to assemble once all the parts were ready. Some time was spent installing a rear bearing brace that's a retrofit from a service bulletin. That part was found cracking on a couple planes so Vans upgraded the part by using some 6061 angle. It wasn't too hard to put in since the back of the plane is still open. I wouldn't want to install it once it's assembled. I've bought every updated part since I bought the kit so that when it is complete it will be up to date. I also spent some time removing the lower firewall and forward skins. The fuselage nosed over off the saw horse and it bent it up a bit. The firewall hit hard enough to crease it and that would case an already thin part to become weak. The nose came off without a problem in a couple hours and all the holes were fine. The new parts were $178 and that's pretty cheap for a plane. I spent some time getting them ready for prime and set them aside until I'm ready to paint. I've been reading about painting since I've been painting acrylic urethane on the Cessna in areas of corrosion. I've been choking off my paint gun trying to conserve primer and keep it light but for finishes you need the gun wide open. I tried this while spraying primer and ended up going through 17oz for just the small batch of parts that is section 24. I'll try turning the fan down next time but I'm sure I'll have to back off the paint also. Full open works good for large areas but for small parts there's too much overspray. The roll bar went in and looks fine. It's starting to look like a plane.
The old brace is removed. That red stuff is blood... The cost of building a plane.
The new brace on the top and the old one on the bottom. It was cracking where the end comes up for the flange.
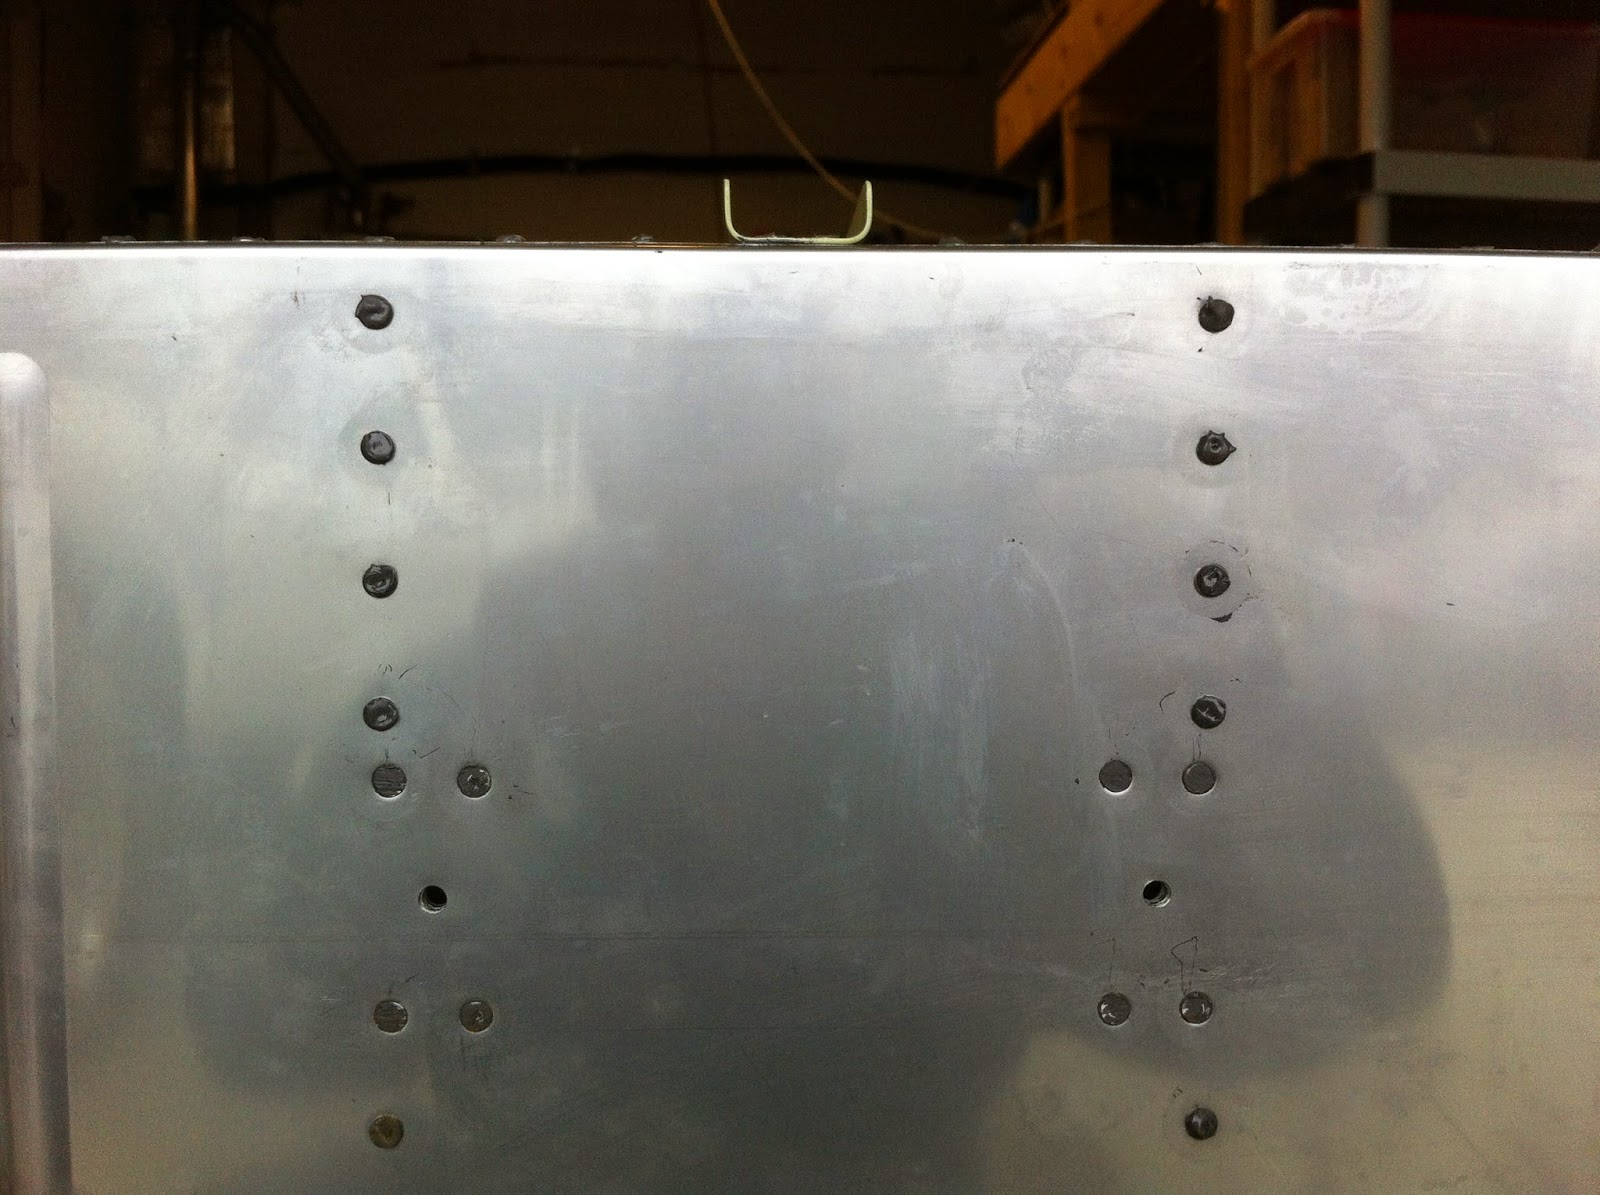
A shot of the new brace installed.

A different view. This is the side that seems to be failing on planes without the fix.
Roll bar ready to rivet.
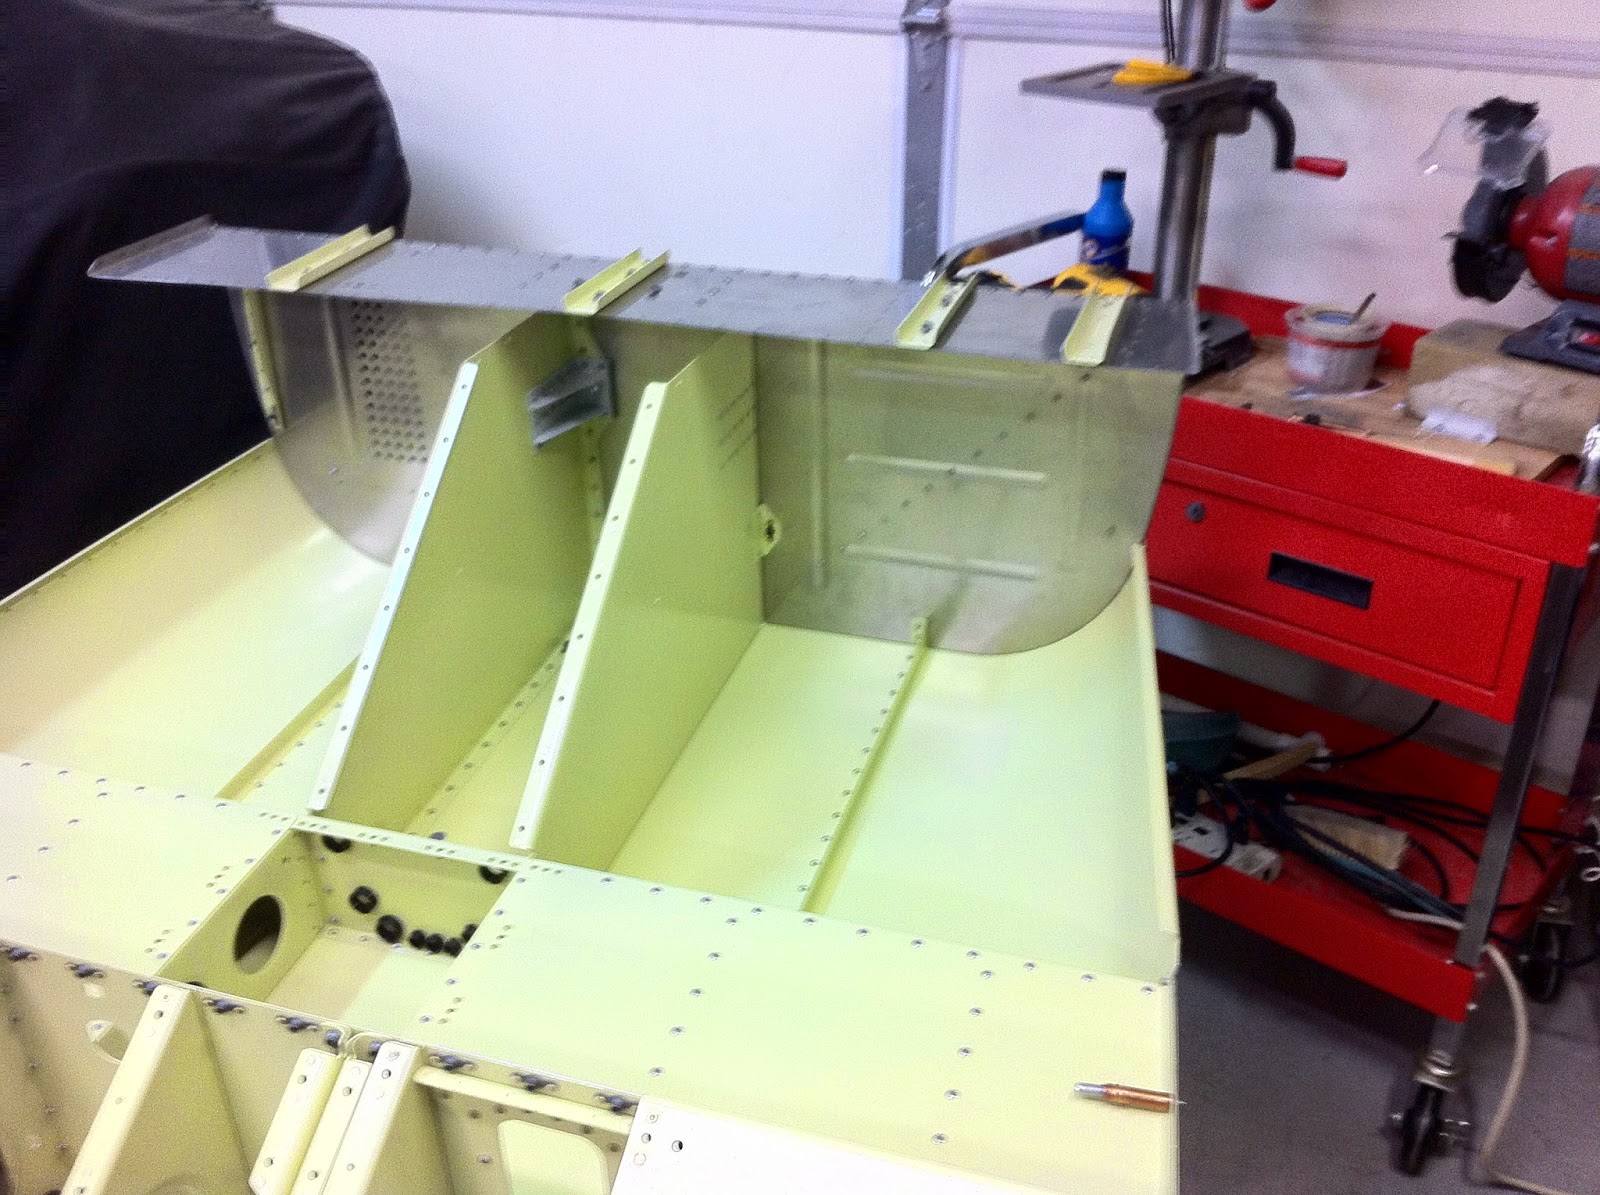
Roll bar and rear bulkhead attached.
Ready for the turtle deck.

Friday, January 23, 2015

Section 23 complete - build time 835 hours

Finally sat in the cock pit. The little plane is coming along. It went from a sled to a tub and is quite roomy. I'm now past 800 hours - the average time it takes to build one of these kits. I've also went from a garage full of parts to a couple of boxes and a handful of aluminum parts. There's still a ways to go but it's time to begin passively studying the first flight and the process of getting it registered. If I can stay focused I believe we will fly it this year.
Section 23 parts primed and ready to assemble.
The internal bracing and arm rest in place.
Last bit of rivets - about 2000 to go out of 13000. 
Side skins all cleco'd up and ready to rivet.
Shot of the tub ready to rivet.
Right side done - on to the left.
Section 23 complete.
Section 24 parts laid out and ready for debur and primer.
The nuts on the left and middle screw are a type that has a service bulletin out on them for cracking. They are crap. I can only assume that they are in the kit because they are cheap. On the right is a proper aircraft grade all metal lock nut. I plan to use these types anywhere the cheap ones are called out. You can see that I installed one of these on the cold air vent and it stripped out. I had to dremmal it out to get it off.
The finished product of section 23. you can sit in it now and get a feel for it.
The little air vents that had the monkey nuts on them all happy now.

Sunday, December 28, 2014

Section 23 - Longerons - Build Time: 782 hrs

Pushing hard during the holiday break to get as much done as possible. This weekend I bent the longerons - a task that some say they have trouble with and others had no problem. Most of those that had no issues with the process didn't use the instructions (lay it on the ground and hit it with a hammer). Those that do use the hammer technique complain about the longeron looking like it was war torn. I used the dies to bend the parts and the vise and pipe process to open the angle. It took all day to get them finished but they came out fine. I should have the parts drilled out today and begin getting them ready for prime.
Mocking up section 23 parts getting an idea where everything goes.
New batch of parts deburred ready for next steps.
Decided to pull the inspection covers off the Cessna and repaint them. It was badly needed but it's really just a peek at the entire plane - which I hope to paint in 2015.
The left longeron in place - lined up pretty nicely.
There are several (10) holes that need to be matched drilled at the doublers.
One down (bent) and one to go. The dies work well but can quickly over bend.
Here's the pair. They are close enough to pull into shape.
A shot of the left side. Shows the arm rest, the longeron and canopy shelf match drilled. Just clecoing these parts really adds strength to the structure.

Sunday, December 14, 2014

Section 22 Complete Build Time: 762 hrs

Section 22 complete - starting to look like an airplane! This section came with some warnings from the forums in that some felt there could have been more details in the plans. The section was only 4 pages long and I spent maybe 10 or so hours of the 28 for this section on one page. In contrast to the last chapter which had 28 pages I believe and took quite a bit of time. In any case, most of the complaints about the drawings were dated and I found it to be 80% there. At this point I think Vans assumes you'll figure it out which isn't hard to do. This will be the last section for 2014 and officially I'm at 2 years on the build which I do believe will complete in 2015. I have a hanger now at KCCR. I've been on the list for about a year at both Buchanan and Byron and both came up at the same time. I choose Buchanan since it's half the distance but it's nearly $120 more per month so the incentive to make use of it and move to Byron is there. For now the mighty C152 has a dry place to hang out. Perhaps a first for the 35 year old bird. I'll continue to keep the project at the house since it's so convenient. The coming steps will be mostly plumbing and the sides and roll bar. After that the tail will go on and it will have to be on it's wheels to make it manageable.
Some of the detail and parts fab. This little bracket was fabricated out of stock 6061 angle. It's cool to make the little parts. 
Another part that needed some fab to complete. Once they go through this they can only be used on one place.
Prior to priming the components are assembled so that I can work through all the counter sink / dimple / drilling that needs to be completed. It works much better this way and by the time you've riveted anything permanently you have a good understanding of where everything fits.
All fab complete - ready to prime. This took a couple days to get to this point.
Out of prime - not too many parts on this section.
Starting the final assembly. The firewall is stainless so it doesn't get primed. Primer wouldn't stick to it and if there's ever a fire in the engine bay you don't want a bunch of nasty primer combusting and outgassing noxious gases into the cockpit.
All cleco'd up - last check before the rivets go in. It's good to triple check as replacing rivets is a drag.
Time for the rivet gun.
Pretty quick work, only a day. This is all on one page except for the diagonal piece which is a optional stiffener.
Ready to make the final joining. Last check of the documentation.
Purdy!
A shot of the engine mounts. These are the lowers. This is also where the nose wheel will attach.

Ready to attach the firewall shelf.

All rivets on the firewall will get fuel tank sealant. The directions didn't say to do this yet as I suspect they leave it for  a one shot item. I looked ahead and couldn't find it but the firewall stiffener said to goop up the rivets since that's a retrofit. I've also read a bit about it on the forum. Some people said they made a big mess and others talked of punching holes in tape. I used hole punch donuts and it turned out they worked pretty well.
The forward and aft sections coming together.
Progress...
That's it - it's about 7 feet now. This may be the last time it will be belly up in construction. I can still pick it up by myself but it's awkward and I'd hate to drop it. I'd say it's less than 50 pounds.
Section 22 - almost done. Just have to flip it and catch a few more rivets.
Section 22 complete!
Time to admire the work of the fall of 2014!
One more shot... 
Really - just one last angle...
Who can resit...
OK - this is it. Time to move on.
Here's the rivets after the goop and donut process, came out nice.
Last pic of the goop.