Sunday, June 4, 2017

The RV Grin

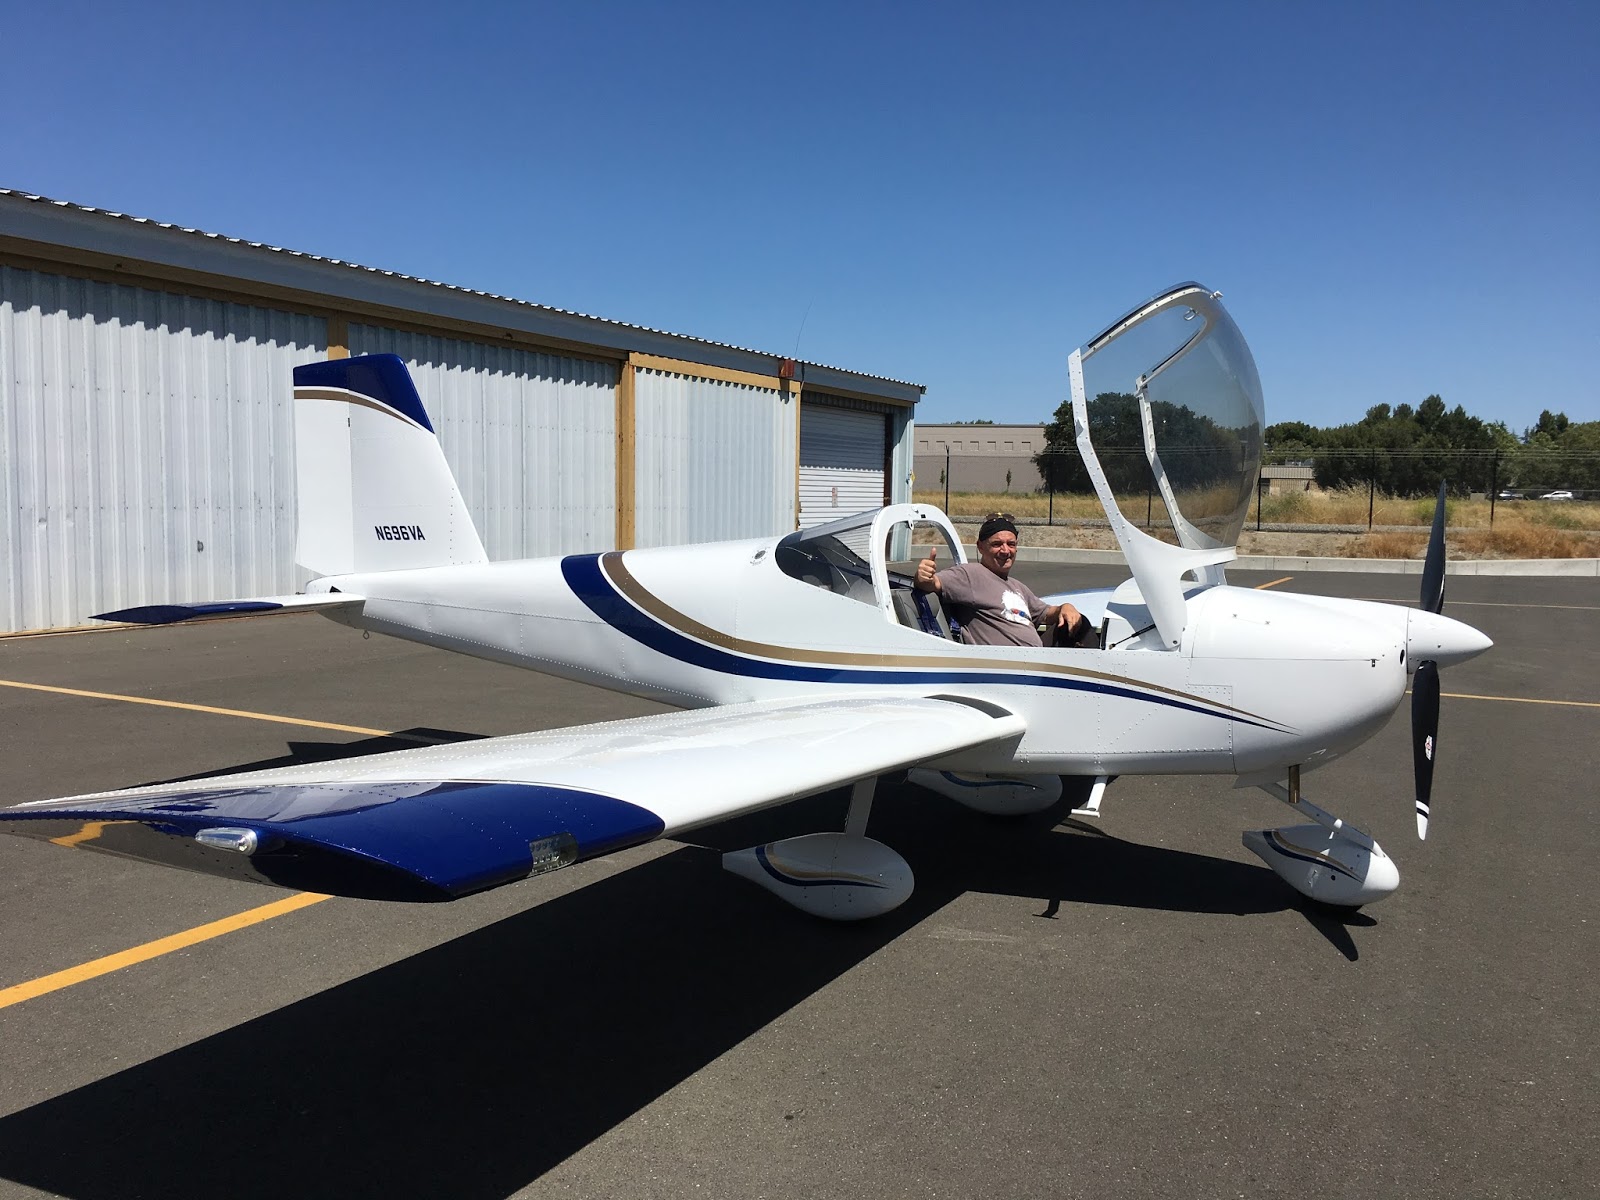
First flight today. The plane flew perfectly. It was hands off level and no yaw. I flew a factory 12 with an instructor in the morning and when we taxied off he said I had a good feel for the plane and to go ahead and fly mine... so I did. Flew off card 1 with no problems so far. I'll leak check it in the morning and take it out again for some slow flight and stalls before I move onto card 2. Very happy with how it turned out and extremely happy with the response of the 12.
One of the coolest things about flying this plane is the view. Amazing!

The RV Grin

Saturday, May 27, 2017

Experimental RV696VA Cleared for Takeoff

The project is an airplane now. The Airworthiness Certificate was issued May 26th, 2017. The DAR was a very nice person and the entire inspection was a non-event. I stressed a bit about registration and certification but it was just the unknown. I knew I'd figure it out when the time came and it really was simple. Two weeks to get the registration in the mail and four days notice to the DAR to come by and inspect the plane.

It's a big step going from project to plane, somewhat melancholy. I know I built it to fly but building it was all I have done for the last four and a half years. There's still stuff to fiddle with - and lots of stuff to learn about it - and of course phase 1 flight testing.

So this should be the last entry to the building of my RV-12. Thanks to all who found this interesting.

New builders who might find this blog useful should note - there's not too much info on mistakes. I made them, tore it apart and fixed them. You will make them. So please, take it apart and do it right.

And finally:
If I had to do it over again...
For the RV-12, no EAB. It's not worth it. Literally any thing you do outside of VANS design will have consequences that only come out in CAD. And if you venture too far out on the EAB limb well - you're on your own.

Primer war comment - having used epoxy primer on the inside of the plane I would not recommend any primer. Most of these planes will outlive the builder or second and possible subsequent owners. It adds weight, adds significant time and messing with paints like this will kill you if you don't respect them.

Still a ways to go before I actually fly it but it is airworthy and I'm sure will be in the air within a week.

Signing off
jimsrv


Sunday, April 30, 2017

Everything in place - build time 1804 hrs

It's time to get the plane on the scales and see what it came in at. I expect it to be a bit heavy due to the primer and I installed every option. Already had an offer on it. I've been in touch with the DAR and he says give him a week lead time and he will come out. I have about 2 weeks of squaks and finish work and I plan on going through the PAP before I call him.


Thursday, March 30, 2017

The Final Chapter

After some 60 or so build chapters I have finally completed the final chapter - installing the control cables. This marks the official milestone that delineates between stuff that hasn't been addressed and going over previous chapters and finishing what needs to be done. Next up is to put the prop back on and get the engine fired up. There's a few weeks of going back over the build book and addressing things I've left until this point but it's moving along.
Within the next couple weeks I'll head over for a few hours transition training in an RV12. I've flown one for an hour already and there's no surprises but since I'll be taking it up for the first time myself and to keep the insurance happy training is in order.
The Skyview is impressive.
d
I'll change how I've tied down these cables next time I go to the airport.

Friday, March 3, 2017

Final Assembly - build time 1696 hrs

Down the final stretch now - putting it all together. This is really fun and while I now have to drive to the airport to work on the plane it's great to hang out and talk with folks that come by to see the project.
First thing I'm working on is getting the panel complete so I can get the systems working. The right panel has been reworked 6 times now - 3 for the gloss black and 3 times with the carbon fiber vinyl.
The original plan of using the gloss black was a good plan but it's really hard to paint that color and get it to look good. The radio stack needed to be refinished after cutting the holes for the auto pilot heads and enlarging the hole for the radio and the left panel came with the sky view and didn't have the intercom cutout so it needed to be finished. At this point I decided to try the vinyl and went ahead and bought $50 worth of it.
I'm really happy with how it turned out. I started with the right panel. For the first shot I tried to start at one edge and pull it on. It stretched and caused wrinkles so that method was out. It will stretch a bit but it's not that flexible. The second attempt went well. I let it warm a bit and placed it on a soft rubber mat and then just stamped the panel into it. That worked very well. I moved onto the radio panel and that came out pretty good but the lines in the pattern were a bit off. I could have lived with it though. Next was the left panel and I was getting pretty good at lining things up by now. That came out nice enough to cause me to take another shot at the right panel. If I had not had enough material I would have left it alone but I had just enough to try it one more time. It came out really nice and I'm glad I did it.
I plan on making sure the power is at the correct pins before I apply any power to any avionics. I expect to have power in the plane within the next couple of days.
Next week I'll be headed down to Chino for the Rotax service and maintenance classes, not cheap, but I always planned on taking these classes. I expect to have the engine running before the end of the month.


Tuesday, February 7, 2017

Painting Complete

After a couple months the plane is now painted. The final stretch for final assembly and airworthiness inspection is insight. The painting took about the time I expected - at least 8 weeks or better. It was a side job for my painter so he fit it in when he could. That coupled with more rain than expected added up to nearly 12 weeks. But it's done now and it looks great. I went down to the shop to approve the layout but really Jaun is the artist and he had a vision. Can't wait to start putting it all together and fire it up. In the time the plane was away I took a small break - it's been 4+ years that I've really focused at on working on this project and the break felt good. I'm a little behind on what I had hoped to accomplish during it's absents but it will all get done at some point. I'm nearly finished with the tank and just need to seal the top of it along with a few nutplates on the filler tube. I've ordered some carbon fiber vinyl for the panel. I had painted it gloss black but it just isn't worth the effort as I have to redo two of the three panels and gloss black is the absolute hardest to work with.


The white did a good job of hiding the bulkheads in the skin. Nearly every RV12 I've seen has this. Vans says it due to the thin skins.


Sunday, November 13, 2016

Off to the paint shop

Baby Bird made its first big move today - 150 miles to the paint shop. Once it's painted it will be final assembly, finish the avionics, run the engine and work through certification with the FAA. Juan at T&P aero seemed to want to get started first thing so it may be only a few weeks until it's painted. I have several small jobs and one last big job, the fuel tank, that will keep me busy while it's in the shop.

Saturday, October 15, 2016

Two steps back - one step forward build time 1602 hrs

Well it's been quite some time since I posted to the blog. I finished the engine and cowl and purchased the Avionics - which apparently I should have done in reverse order. I purchased the engine first because I wanted to get it painted before final assembly. I then realized that there would be antennas and doublers with the avionics kit so I had to wait on that. I'm a bit concerned that the engine hasn't run in months, not good for engines. We'll do a thorough inspection of the cylinders prior to starting and I'm hopeful it will be fine.

At this point in the build there aren't a lot of pictures that show significant progress. Most of the work involves taking something apart to install some new wire or servo and such. I'm down to this last weekend of work on the plane before we haul it off to the paint shop. Many folks don't paint until post phase 1 test fight in case they have to make major changes. I don't expect that since it's a known entity and many have been built. I've not deviated from the design in a way that would cause major parts of it to be removed or changed and once it's flying I intend to fly it.

The last major piece is the fuel tank which I'll assemble while the plane is in paint. Once it comes back it will take a couple sessions to get the avionics in and tested and I'll do that here at the house. Then, it's off to the hanger for final assembly - still months from flying.

It's also time to dig through all the paper work for registration. It's daunting but as with this entire project just start reading and it all starts to make sense. Time to call Vans for my bill of sale and discuss the registration process. I will also complete my N number registration which is reserved for now - N696VA.

For builders looking into the paperwork process here's a list of items I've compiled so far:


Request a bill of sale from Vans

  1. If you have an RV-12 but do not meet the RV-12 ELSA criteria, you will only receive the 8050-2 bill of sale. If you want the placards they can be purchased at an additional cost. 

1) Aircraft Registration Application, FAA Form 8050-1.
2) Affidavit of Ownership, FAA Form 8050-88 (use version dated 9/98).

3) If a kit aircraft you must also complete FAA Form 8050-2 Bill of Sale and replace the word "aircraft" in the title with "kit."
4) If you want a "special" N-number, send a letter requesting five choices.
5) Appropriate fee: $5.00 ($15.00 for "special" N-number)
Prior to the FAA inspector’s arrival for the final inspection you should obtain:
1) Airworthiness Application, Form 8130-6.
2) Eligibility Statement for Amateur-Built Aircraft, Form 8130-12.

AC 90-89B - Amateur-Built Aircraft and Ultralight Flight Testing Handbook 
http://www.faa.gov/documentLibrary/media/Advisory_Circular/AC_90-89B.pdf

AC20-27G -Certification and Operation of Amateur-Built Aircraft 
https://www.faa.gov/documentLibrary/media/Advisory_Circular/AC%2020-27G.pdf

8130.2H - Airworthiness Certification of Products and Articles 
http://www.faa.gov/documentLibrary/media/Order/8130.2H.pdf

AC-45-2E Identification and Registration Markings
http://www.faa.gov/documentLibrary/media/Advisory_Circular/AC_45-2E.pdf


Questions for Justin:
* Would paint be considered commercial help?
* Certified as EAB - I would like it to be day / night / VFR / IFR - any reason that cannot be done?

* If IFR certification is OK does the plane need to have an IFR navigation installed at the time of certification?

And of course - some pics
All the Avionics - candy for someone like me.
Panel coming together. I'm not going to put too much in until it's painted because they'll be using water and etching prior to primer
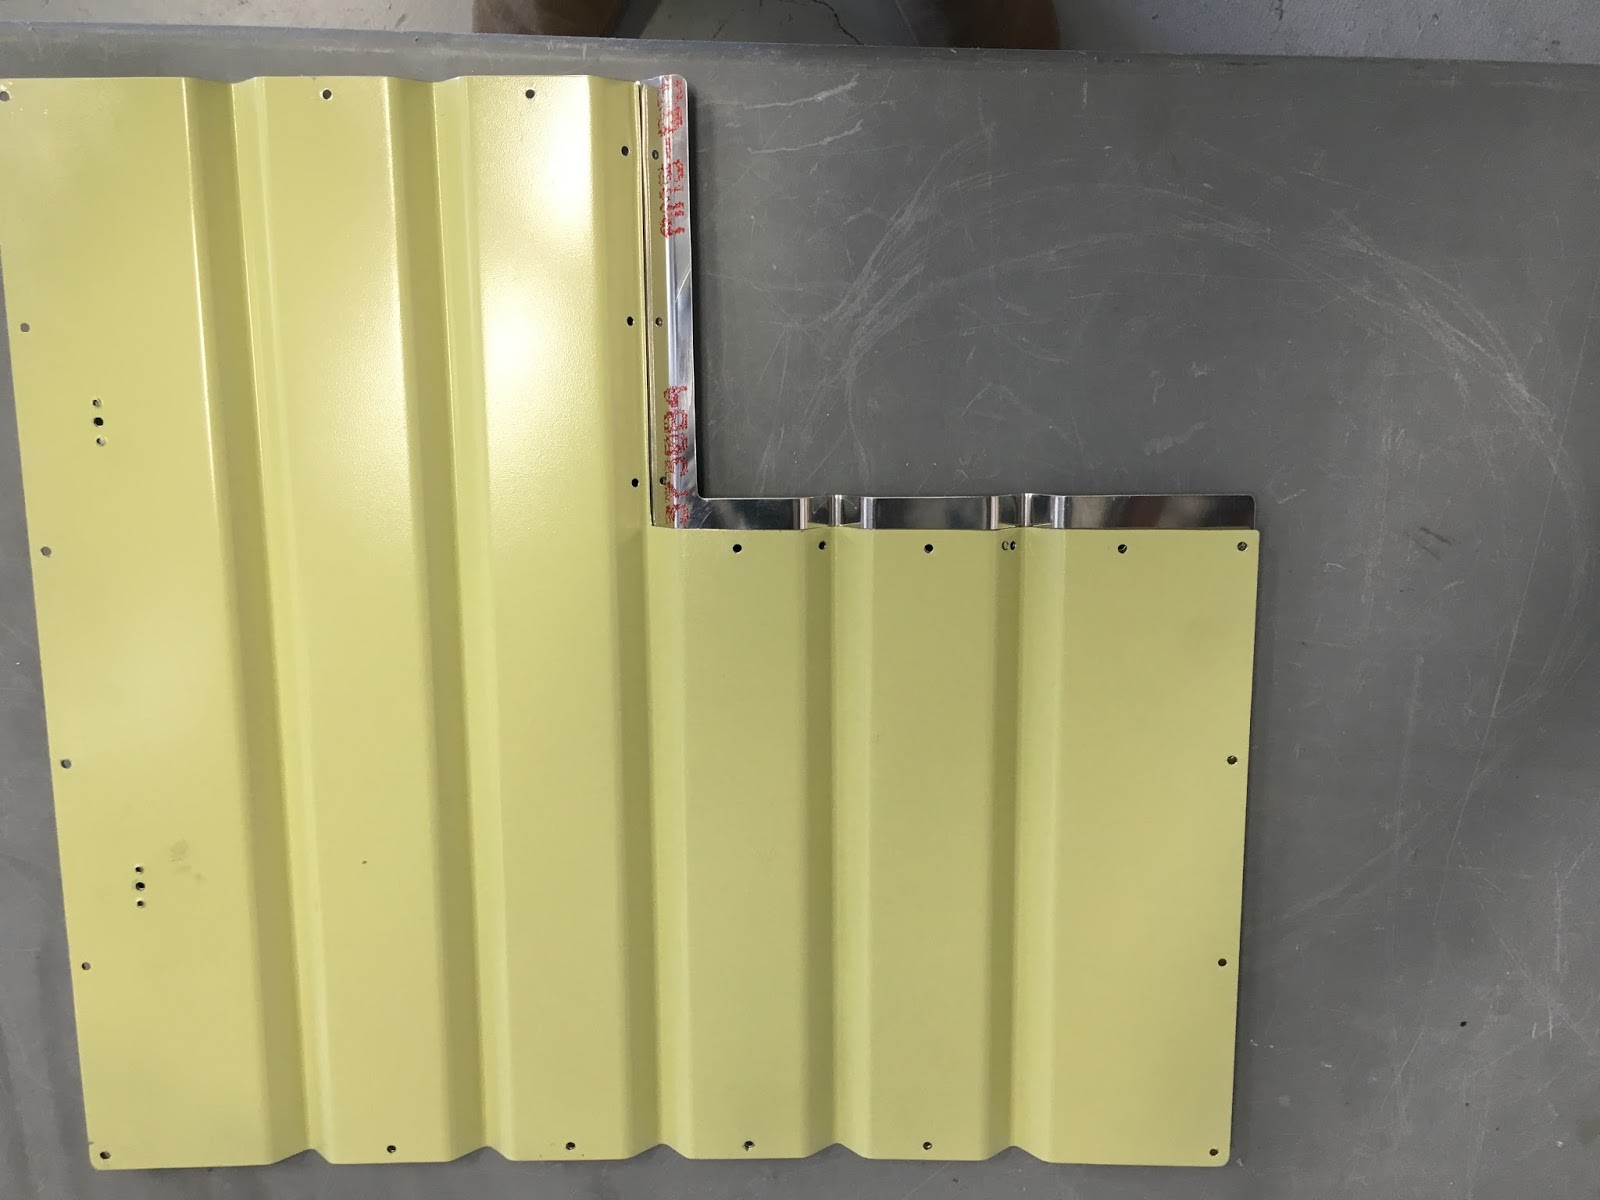
The Avionics kit came with the baggage floor pieces that allow inspection without removing the fuel tank. So I decided to add the rear bulkhead split also. I ordered the small piece and took a stab at cutting my existing bulkhead. It would have worked except I mis-drill one hole. So I bit the bullet and ordered the big section also. you can see it behind the old primed bulkhead. It is about 3/4 of an inch more material. One of many parts that have made it to the scrap heap. Hope this pic helps anyone making the same change. The small piece is less than $20 - just make sure to leave enough material (the holes are matched from the small part) and cleco everything as you drill.


Wednesday, July 6, 2016

Section 49 - Cooling complete - build time 1533 hrs

Pretty much the entire engine kit is finished. I just need to do the propeller and spinner. I've ordered the Avionics and except for paint that's the last big chunk of money for the project. The engine on this  plane is a very busy space. Most aircraft run a primitive Lycoming or Continental and the general idea is less stuff means less stuff to fail. This engine has oil cooling, water cooling, air cooling, electronic ignition, fuel rails and sensors, gear reduction and an integrated alternator / timing pickup. It's a nice package - but very busy for a small airplane. You might find this on larger / newer aircraft where the weight of redundant systems doesn't out weight their value. In any case, I'll be happy to fly behind it and have already signed up for the first maintenance class on this series of engines.

Lake Tahoe CA - 10.5 in the C152/G
The California Delta.
My busy little power plant.
Pretty happy how this came out. Took all morning to get the patterns for the foil just the way I wanted them.  It looks just like the book.
Air, Water, Oil cooling all hooked up.
Nice warm place for birds to build a nest.
100 plus hours to get to this point.
I'll be crawling around this thing for the rest of my life. Hope it always looks this good.

Sunday, May 15, 2016

Engine Installed - Cowl Progress - build time 1440 hrs


I'm writing this update a bit behind schedule. Seems there's just not enough time for building a kit writing about it and keeping up with life. In any case the engine is on and now that it's nose heavy it's much more difficult to move around. I had to finally get out the tow bar to steer around the garage.
I'm about halfway through the cowl now and stopped to install the engine partly because the engine is in the way sitting in it's crate and because I want to have the aft spinner bulkhead installed so that I can use it to make sure the cowl is properly trimmed. I'm glad I did it this way although just trimming to the factory trim line would have worked.

Sunday, March 20, 2016

Canopy, Engine and Paint - a busy week

This week the engine arrived from Vans. I drove to pick it up at the shipper because I didn't want to wait for them all day. The next day I couldn't wait to tear into the crate so I did the inventory and all parts were present. The engine looks sweet and the kit contains much more than I thought it would. I needed to get the engine kit here because while reading ahead for the cowl I noted there were parts that would go inside and the directions warned not to sand the cowl - leave it translucent so that you will be able to see through it to mount the cooling baffles. Once the cowl is finished the fuselage can go to paint.

The wings are in the hanger now along with the tail feathers and assorted stuff. The paint looks really nice. Everyone was commenting on the colors we used. It was always going to be blue and white and we were walking past the paint and Jaun picked up a can of gold and said what about this. We looked at the sample in the light and I said go for it. We pretty much made up the scheme and colors on the fly. I generally knew what I wanted and Jaun knocked it out of the park.

The canopy fiber glass is all trimmed out and sanded down. I have the first of what will be 5 coats of epoxy drying now. I'm really pleased with how it came out. It was a great part to build.
The engine crate took up the whole truck bed.
I've had this number reserved for a couple years now. Hope the FAA didn't give it away to someone else.

The paint really pops in the sun.
Pretty parts.
Getting help moving this stuff into the hanger.
The colors and scheme are perfect.
The Rotax 912 soon to be mounted.
Last shot of the canopy glass before it gets trimmed out.
After trimming. It came out great.

Saturday, March 5, 2016

Canopy, Paint and Engine - build time 1394 hrs

A lot of stuff is coming together. I've finished laying down the fiber glass and resin. It's time to begin sanding and getting the final coats of resin on the glass for a smooth finish. Everyone is a bit anxious about this section but Vans has a really great, nearly 2 hour video on glassing a 14 that pretty much makes it simple. In the beginning it was a bit stressful but once you discover the pot life of the resin you begin to see how much time you have to work it in. Also, the peel ply is great stuff and I would highly recommend it.

This week I ordered the power plant. All that's left of the original kit is the cowl and the fuel tank. I plan on doing the tank while the plane is in paint and the cowl needs the engine before painting so I went ahead and ordered it. Should be 2 to 3 weeks they say. Hopefully there's no long wait for it but that amount of time is pretty much on target if I keep at it.

The wings, rudder, stabilator, flaperons, trim tabs and vertical stabilizer are all in paint. The primer and white are done for the most part and I went down to visit and lay out the 2nd and 3rd colors. We're going with a base white, Blue scallops on the wings and tail feathers with a gold accent. The size and shape of the scallops will be approximately what Vans paints on the SLSA's sans the gold stripe which will be about 3/4 inch. It should look very nice. The fuselage will be white on top and blue on bottom following a rolling pattern over the wings. It's coming together now. many many little parts making much bigger parts that are making one machine.

Sand paper will make this look pretty.
Peel Ply in action.
Right side glass. I'll be filling in the sag from the gap with micro balloons.
Two inch radius. Exactly as the plans say it should be.
Freshly painted stabilator. Added quite a bit of weight to it. The painter tried to keep the weight down.
Laying out the wings for the other colors.
All that hard work coming together.
Flaperon primed and ready for white.